
In Zoey, every product and customer is assigned to a Tax Class -- a grouping of similar products or customers used to quickly pair with a corresponding tax rate. By customizing your tax classes, your Zoey store can apply accurate and contextual taxes before checkout.
For example, some stores may be located in a jurisdiction that does not tax wholesale transactions and need a Product Tax Class to define those sales. Another merchant may have a tax exempt customer base, such as a nonprofit and can use a Customer Tax Class to ensure they are charged appropriately.
Tax Classes and Tax Rates combine together to create Tax Rules. You can review how Tax Rules work here.
| 1 | Visit Tax Page |
| 2 | Select Tax Class Option |
| 3 | Edit Tax Class Information |
| 4 | Add New Tax Class |
| 5 | Additional Tax Class Examples |
| 6 | Further Reading On Taxes |
Step 1 - Visit Tax Page
From your Control Panel, hover your cursor over Set-up and select Tax.
Step 2 - Select Tax Class Option
Scroll down and select the corresponding Manage icon within the Product Tax Classes or Customer Tax Classes section.
- Product Classes - Specify tax rates for different products. (Example: "taxable" versus "tax exempt")
- Customer Classes - Specify tax rates for different customers. For example, "retail" versus "nonprofit".)
Note: The Product and Customer Classes configuration interface is identical. This guide will take screenshots from both but the process is interchangeable.
Step 3 - Edit Tax Class Information
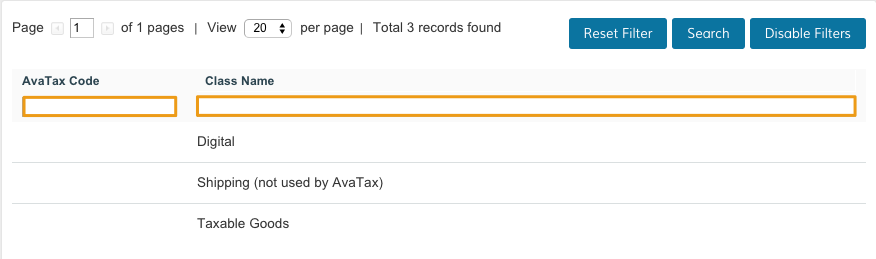
From the Customer and Product Tax Classes page you can sort and edit existing tax classes. Click Enable Filters to sort between tax classes.
You can search your classes by AvaTax Code and Class Name.
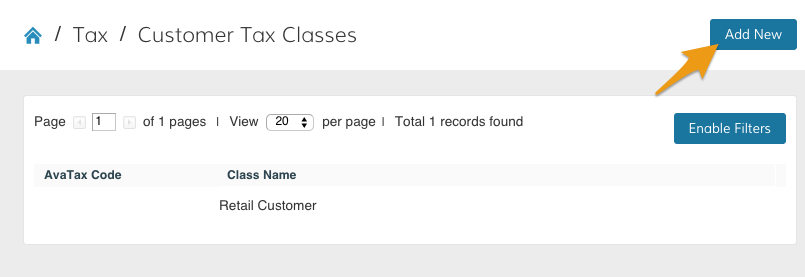
Step 4 - Add New Tax Class
Click Add New to add a new tax class.
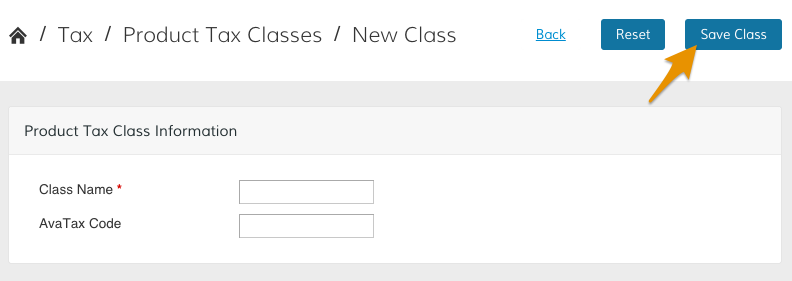
You can edit the Tax Class Information from here.

Class Name - Create a title to identify your class.
AvaTax Code - Enter an AvaTax code to quickly group similar items.
Note - Required fields are marked with a red asterisk.
Note - AvaTax is an optional add-on that is not required for completing Tax Class information. You can read more about AvaTax here.
Click Save.
Step 5 - Additional Tax Class settings
From the Tax page scroll to Tax Settings.

On the Tax Settings page, scroll to Tax Classes. You can manually scroll with your cursor or use the toolbar on the left of your page.
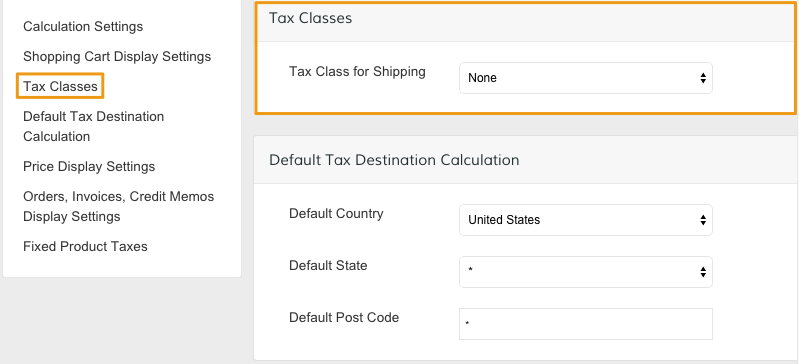
None is the default setting; whatever you charge for shipping is not taxed. If you want to tax your shipping fee, you can select one of your tax classes from the drop-down menu.
Comments
0 comments
Please sign in to leave a comment.