
Whether you have a store domain from a previous web host or you're creating an online store for the first time, you can connect your custom domain with Zoey. Connecting your domain, also known as "domain-mapping", is the last step before getting your store live.
Note: We recommend checking your store's products, settings, and design is ready for the public before connecting your domain.
| 1 | Visit Account Settings |
| 2 | Login to your domain provider and enter your IP address |
| 3 | Select your domain |
| 4 | Add a Domain Alias (optional) |
| 5 | Learn More |
Step 1 - Visit Account Settings
In your Control Panel, hover over your Email Address in the top left and click My Account.
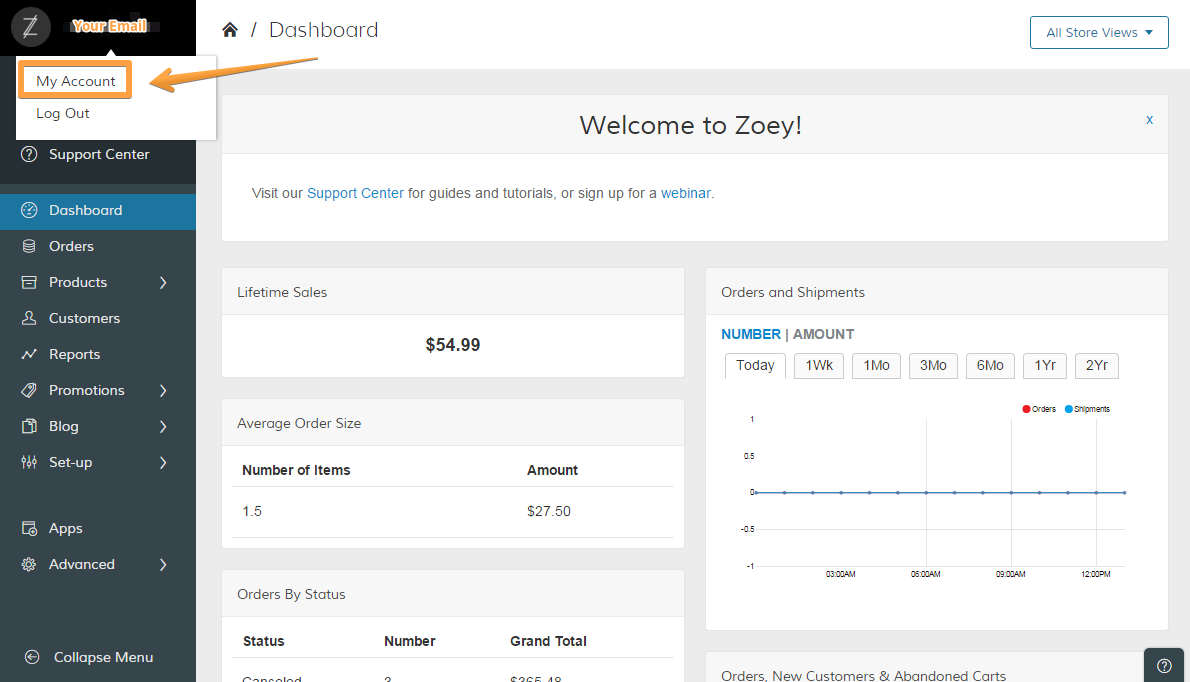
A new page opens with your Account Manager, from where you can locate your IP address under My Store.
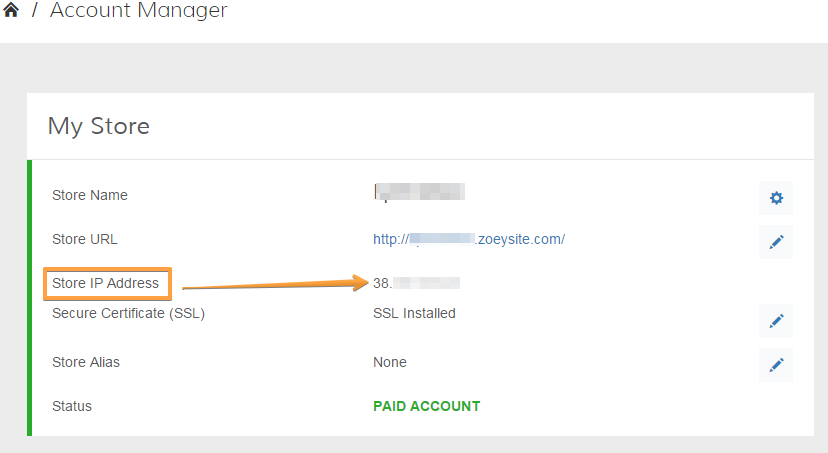
Note: Each Zoey store has a unique IP address.
Step 2 - Log into your domain provider and enter your IP address
From your domain provider (GoDaddy, Hover, Namecheap, etc.) enter your IP address into the A Record (sometimes called @ or A-Host) and WWW fields. With some domain host providers you will need to change the DNS records for @ and * so that all A Records point to your store's IP address. If you're using a domain connected to an older web host, you will have to remove your previous settings and update them with Zoey's records.
Note: Zoey does not use nameservers, you will need to use your registrar's default nameservers.
Note: Zoey cannot troubleshoot third party DNS settings. If you have further questions about third party domain configurations, please contact your domain provider's support center.
Step 3 - Select your domain
After redirecting your domain, from your Account Settings > My Account, click on the pencil icon to open your URL Settings. Select your registered domain from the Store Address URL and Store Secure Address URL menus, then hit SAVE.
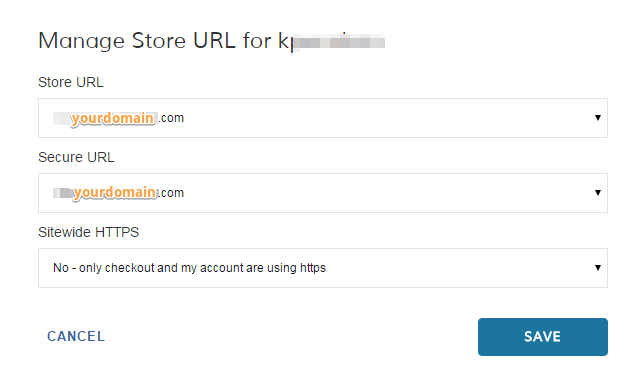
Note: The Store Secure URL displays your store URL on secure pages, such as Checkout and My Account. You can use your Zoey's shared SSL (storename.zoeysite.com) until you go live at which time we highly recommend using your own SSL and Store Secure URL. We explain how to configure your own SSL here.
Note: The domains selected here were entered when you created your Zoey site. We cannot change this or update a misspelling. However, if you need to update your domain, you can use the domain alias.
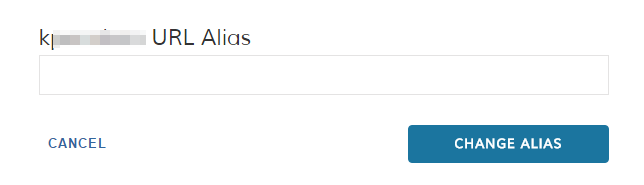
Step 4 - Add a Domain Alias (optional)
You can use a domain alias to connect an additional domain. Update your DNS settings for your domain. When the DNS settings are updated, enter your domain under Domain Alias (click on the pencil icon to open the Domain Alias Settings), then click Save Domain Alias.
This domain will now be available in the various drop-downs for your Store Address or your Secure Store Adress.
Note: Depending on your provider's settings, updating your domain information can take up to 48 hours to be fully recognized across the internet.
Learn More
Now that you've learned about updating your domain, here's some other tutorials you should take a look at!
Comments
0 comments
Please sign in to leave a comment.