
Sales email messages are used to notify customers that an order has been invoiced or an account has been changed. They can also be used to confirm a newsletter subscription, as a reminder that a shopping cart has been abandoned, or when products come back in stock. Create a new sales template to automatically send a customized message about a recent transaction to your customers.
| 1 | Visit Transactional Emails page |
| 2 | Add a new template |
| 3 | Preview template (Optional) |
| 4 | Save template |
| 5 | Update configuration |
| 6 | Further reading |
Step 1 - Visit Transactional Emails page
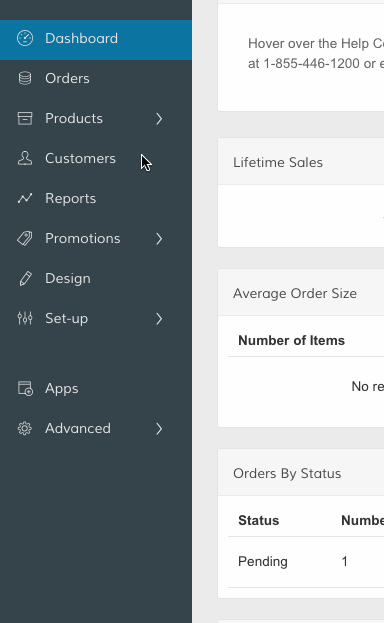
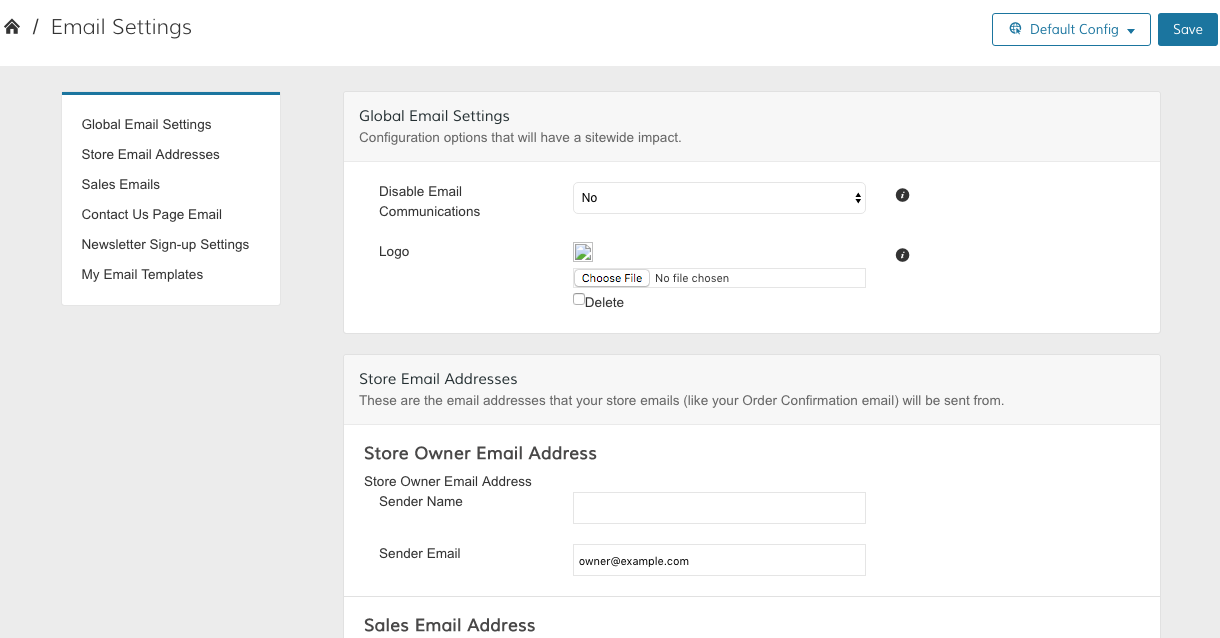
In your Control Panel, hover your cursor over Set-up and select Emails.
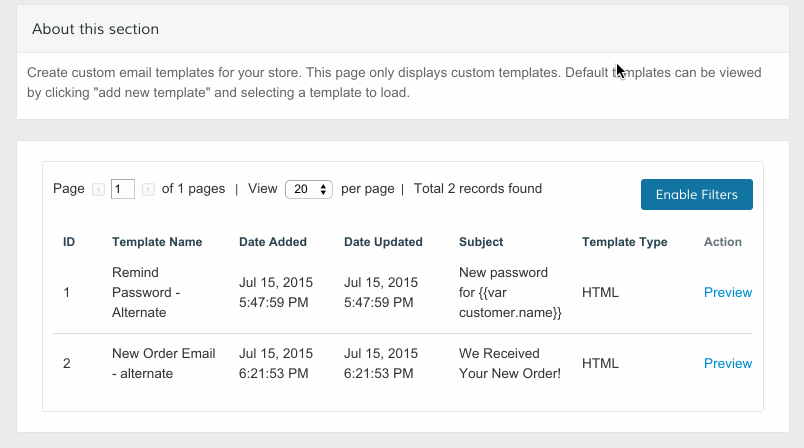
From your Email Settings page, click on MyTemplates. There you will see a blue Add Template button in the top right.
Step 2 - Add a new template
From the Transactional Emails page, click Add New Template.
![]()
Note: You can edit any previously created email templates by hovering over the template with your cursor and selecting the template.
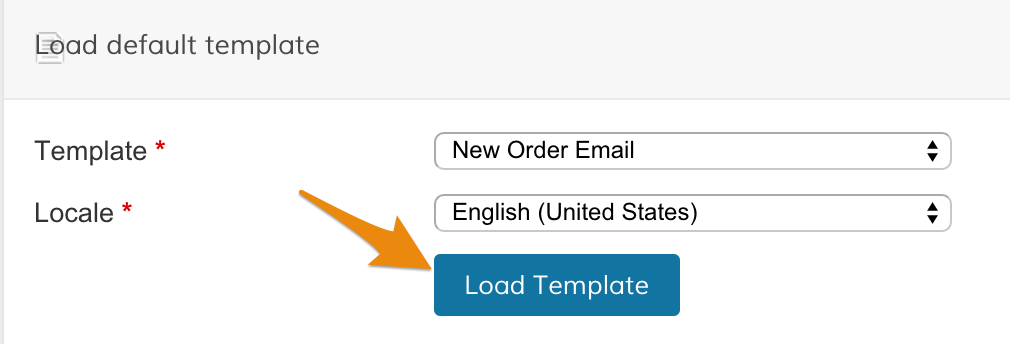
From the New Email Template page, within the Load default template section, select a preexisting email template as a foundation for your new template. You can also select a Locale that matches your store language.
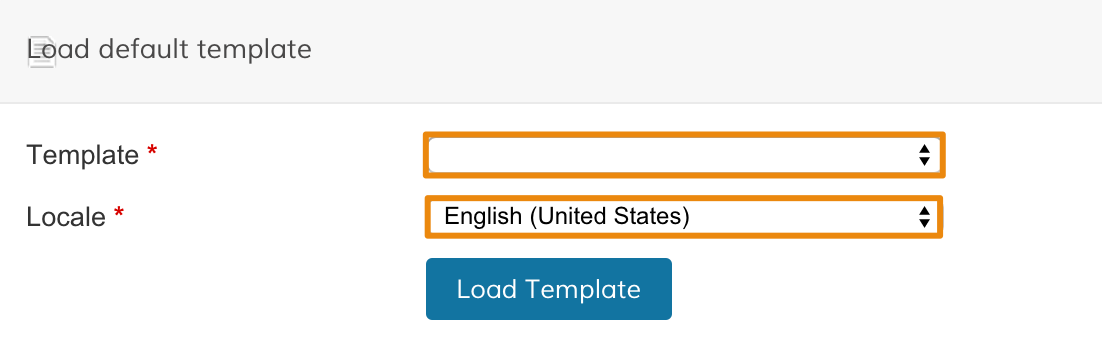
Then, click Load Template.
The template you load will auto populate your Template Information section with the default title, content, and styles. From here you can customize your new template:
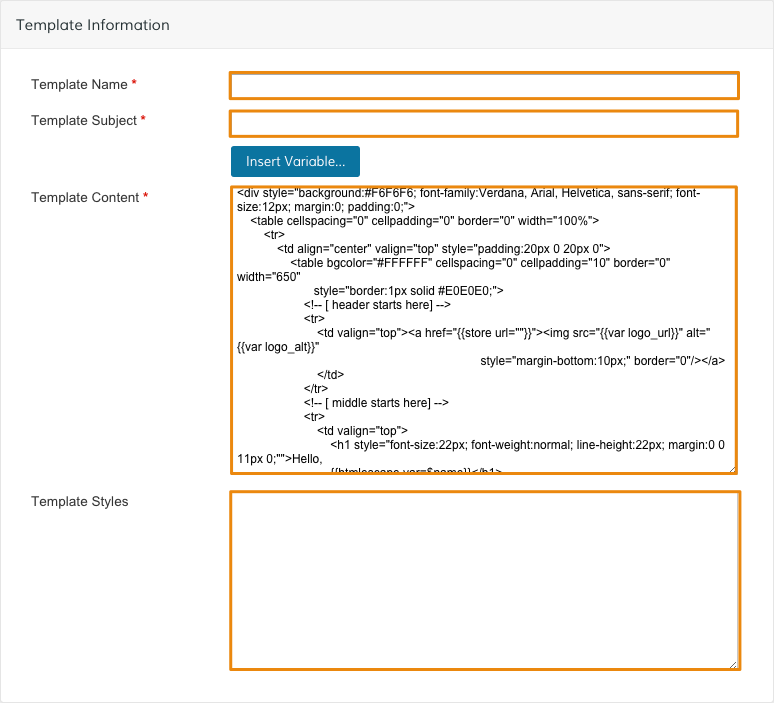
- Template Name - Create an internal name for your template
- Template Subject - Create a subject line for your email
- Insert Variable - Add a segment of text that automatically updates based on customer or store information. This can be used to include the date, your email logo, or the customer name, among other options.
- Template Content - Edit the content of your email template using HTML.
- Template Styles - Edit the style of your email template using CSS.
Note: All templates are in HTML. Zoey does not have a WYSIWYG option for email template editing at this time. We are working to implement this option in the near future. For now, there are free editors that convert formatted text into HTML.
Step 3 - Preview template (optional)
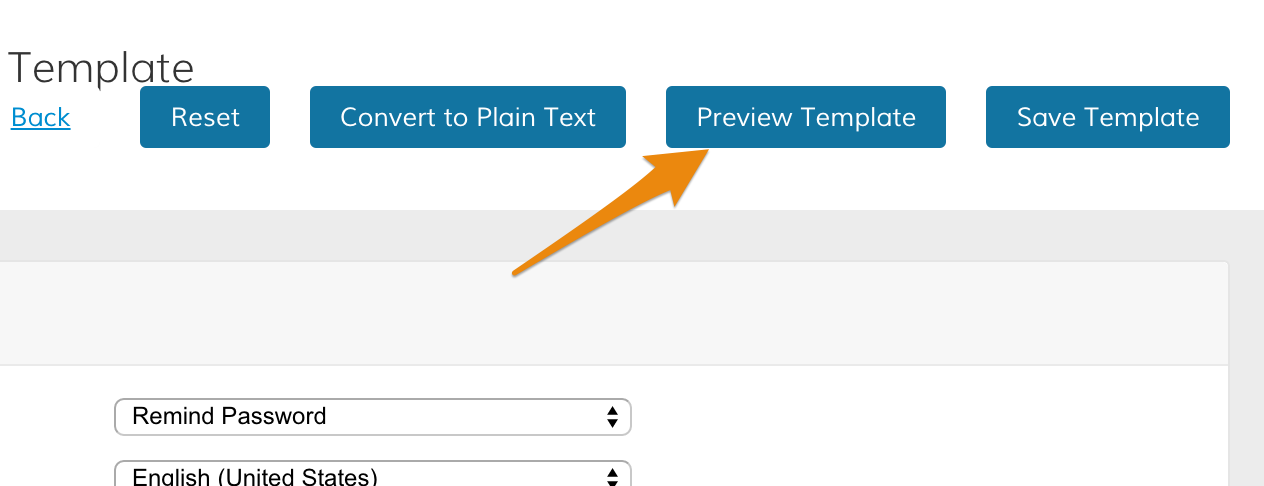
You can view how your email will appear to customers by clicking Preview Template. The email preview will appear in a new browser tab or window.
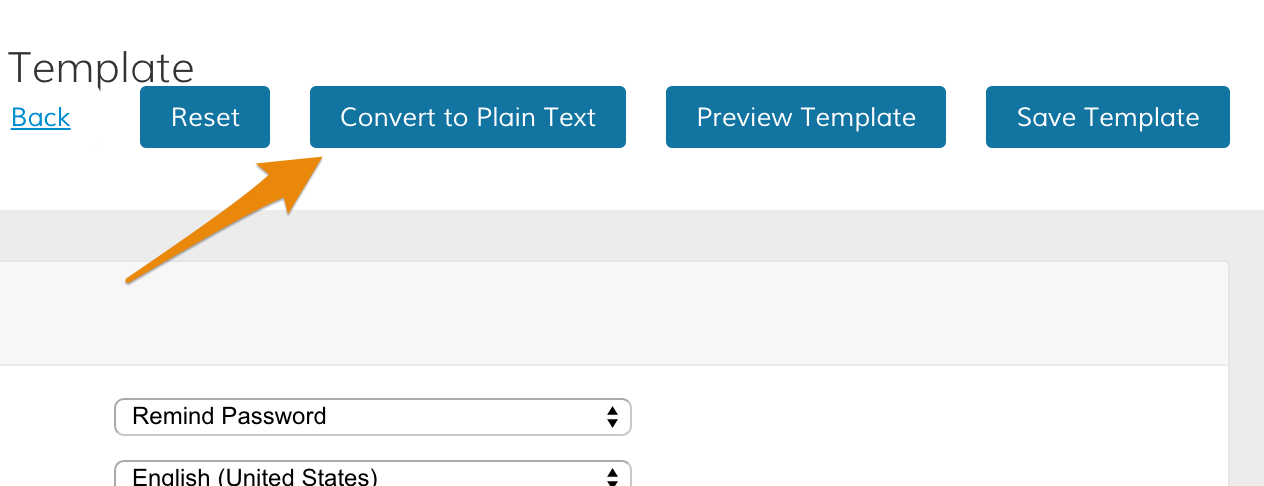
You can update your content in plain text (without HTML) by clicking Convert to Plain Text.
Step 4 - Save template
When your update is complete, click Save Template.
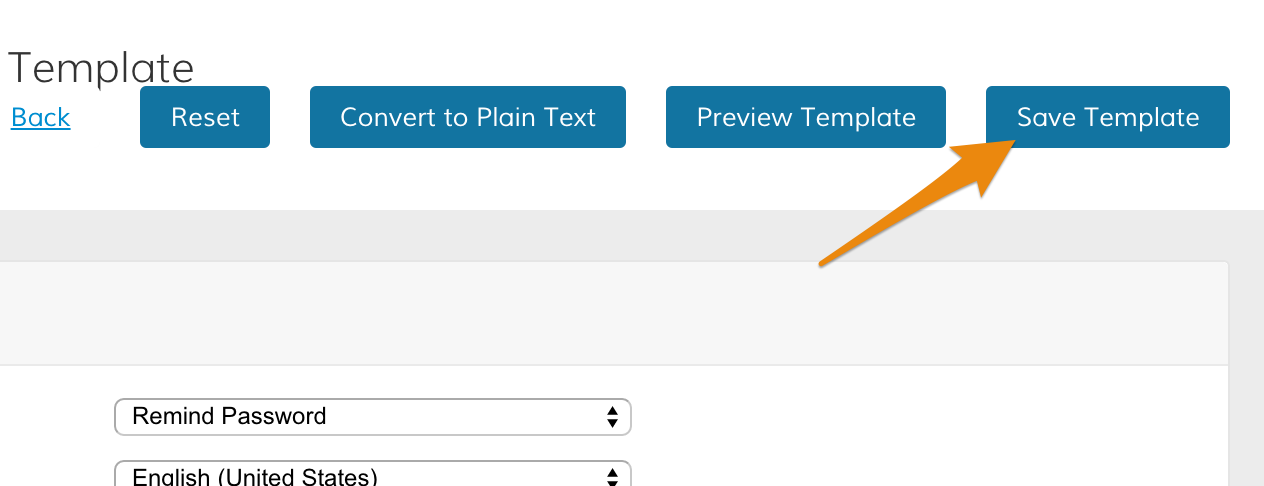
Note: Completing your new template will not override the default template.
Step 5 - Update configuration
From Set-up > Emails, scroll down to the Sales Emails section.
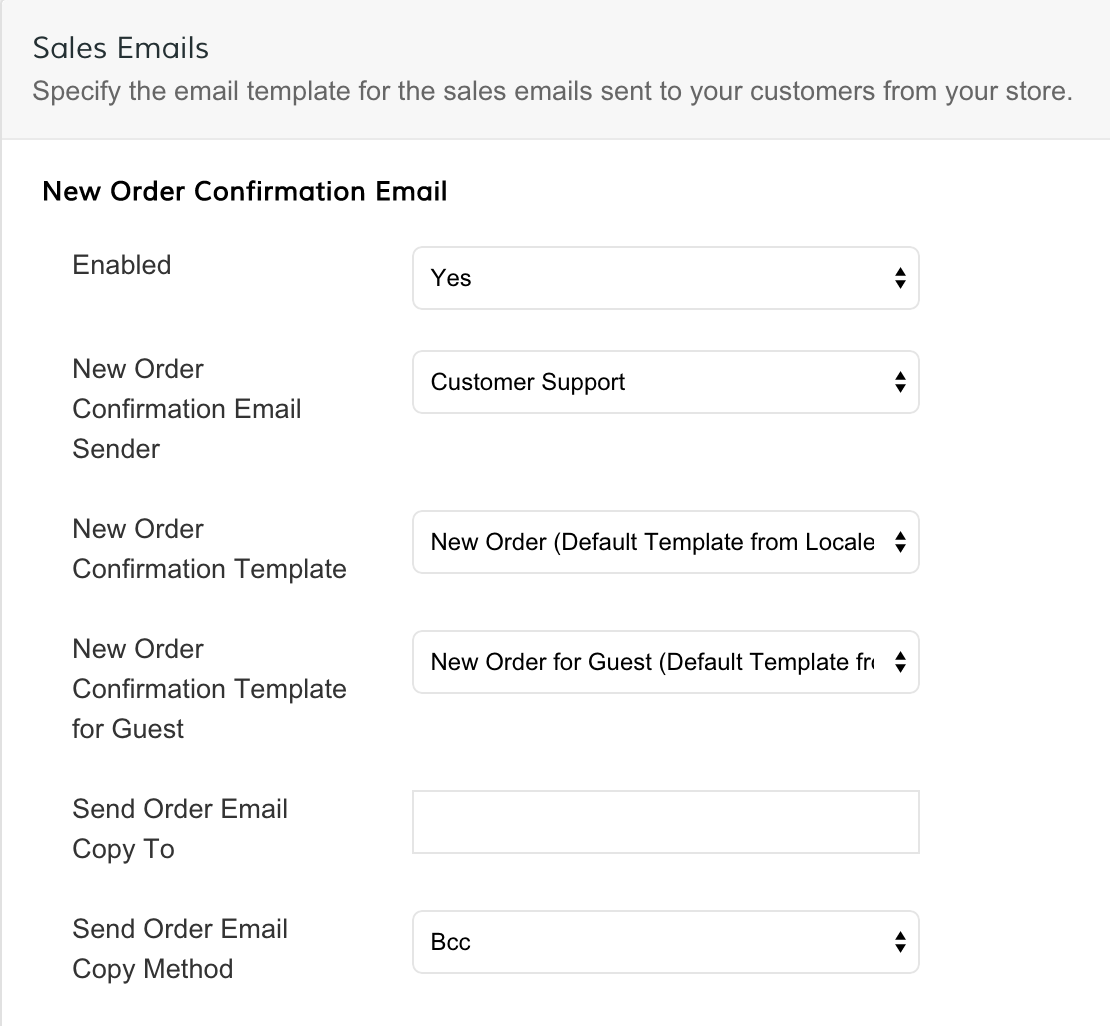
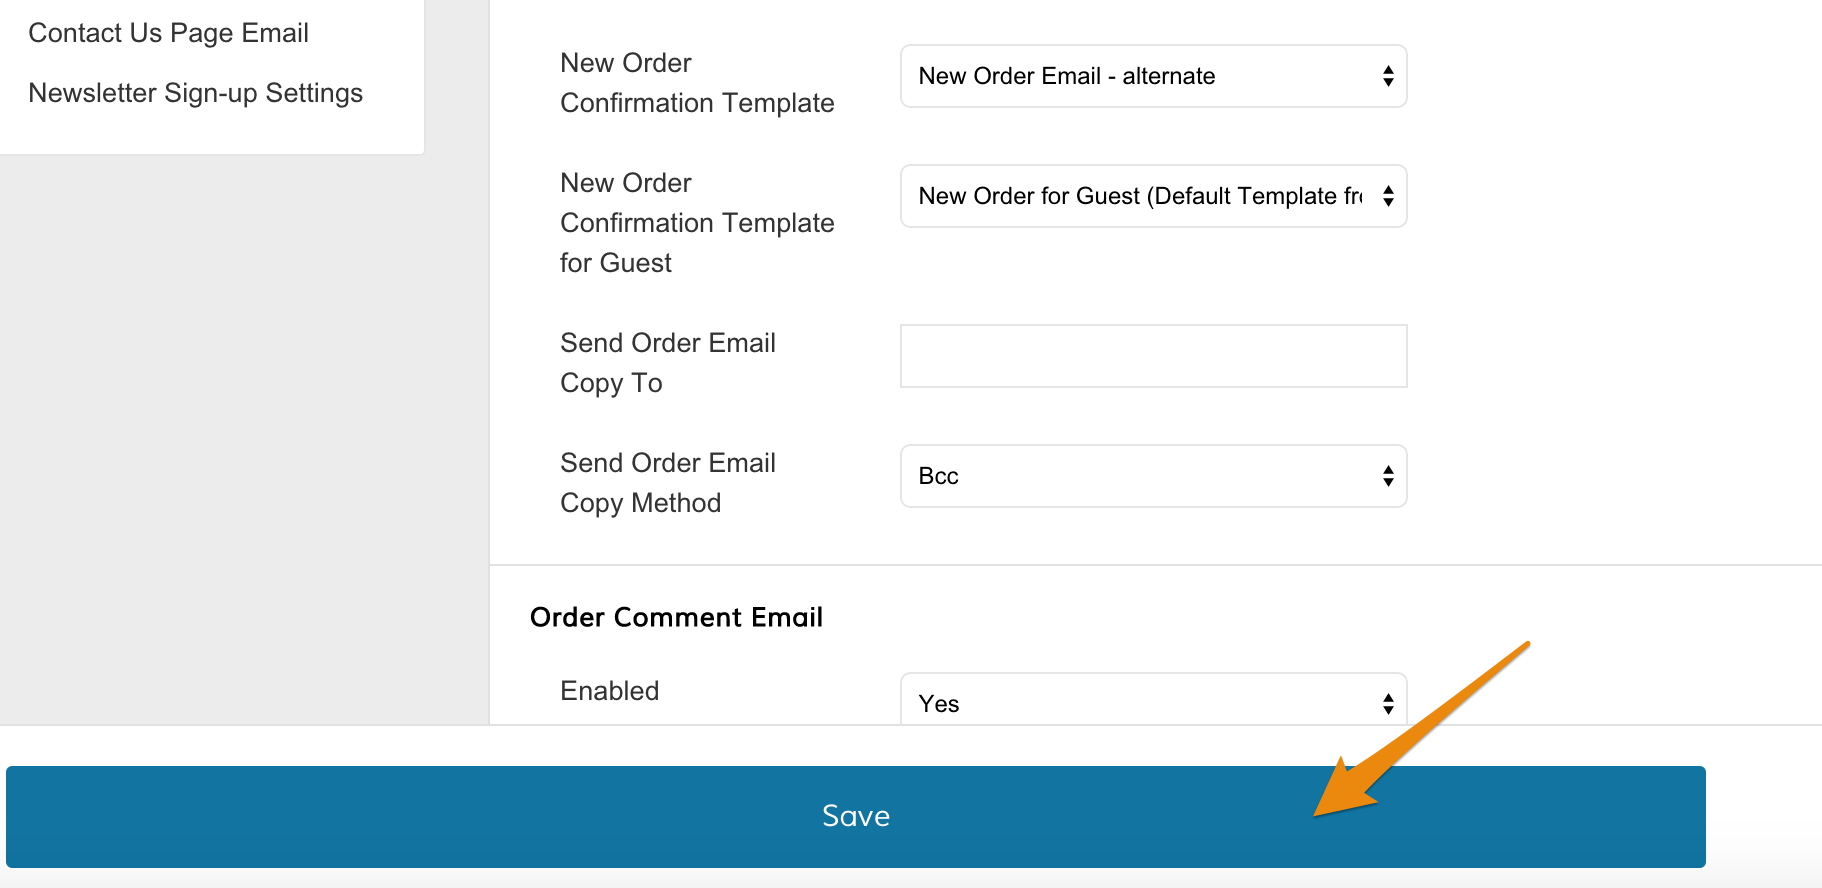
Then, select the corresponding actions you want to associate with your new email template.

Click Save.
Further reading
Changing your Sales or Customer Account Emails
Comments
0 comments
Please sign in to leave a comment.