
| 1 | Visit Customer Groups page |
| 2 | Add new Customer Group |
| 3 | Add Customer to Customer Group |
| 4 | Remove Customer Group (Optional) |
Customer Groups help merchants organize their customer base around shared criteria. You can simplify communication amongst your customer base, apply a specific customer rate, and set tiered pricing.
Step 1 - Visit Customer Groups page
From your Control Panel, select Customers.
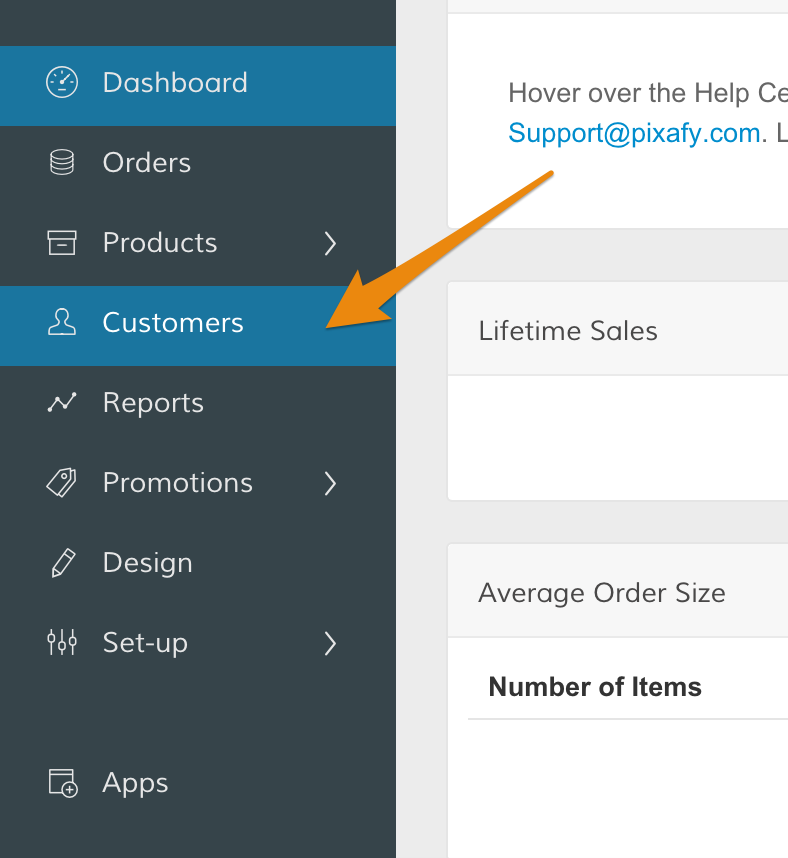
From Manage Customers, click the arrow on the top right and select View Customer Groups.
Step 2 - Add new Customer Group
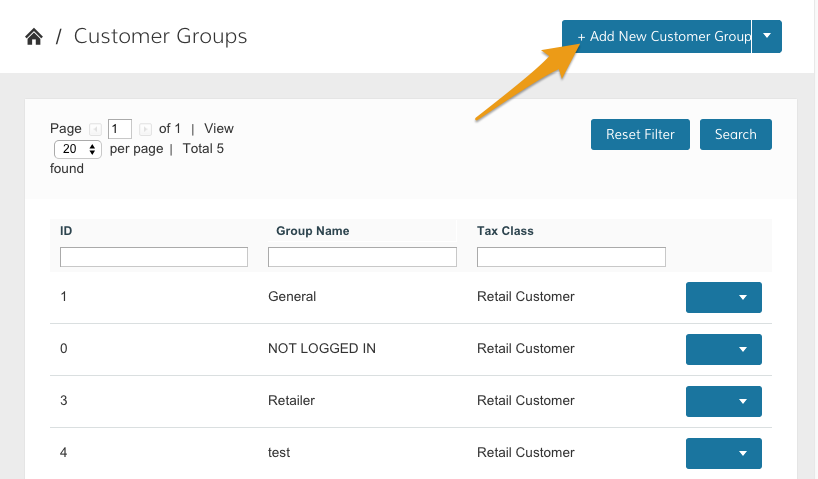
From your Customer Groups page, click Add New Customer Group.
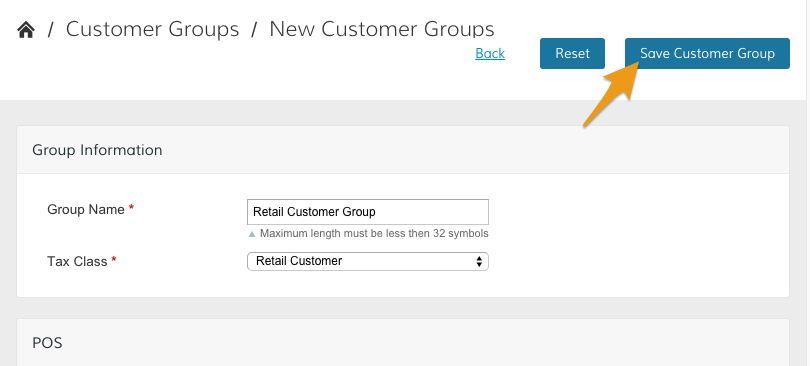
On the New Customer Groups page, configure your Group Information settings.
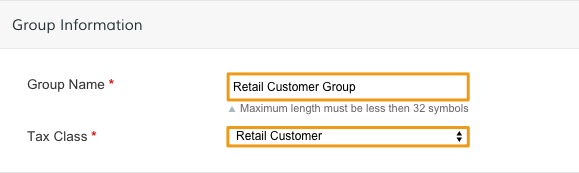
- Group Name - Create a title to identify your customer group.
- Tax Class - Select a tax class to assign to your customer group from the dropdown menu.
Note: You can learn about Tax Class creation here.
Then, from the POS (Point of Sale) section, select your Point of Sale payment method.
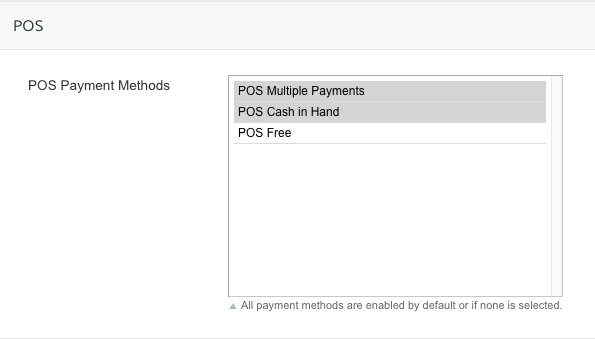
Note: You can select multiple items by holding Command (Mac) or Control (PC) while clicking.
Note: All payment methods are enabled by default or if none is selected.
After completing your configurations, click Save Customer Group.
Step 3 - Add customer to Customer Group
From the Manage Customers page, select the customer you want to place with your Customer Group.
Select Account Information from the Customer Information menu.
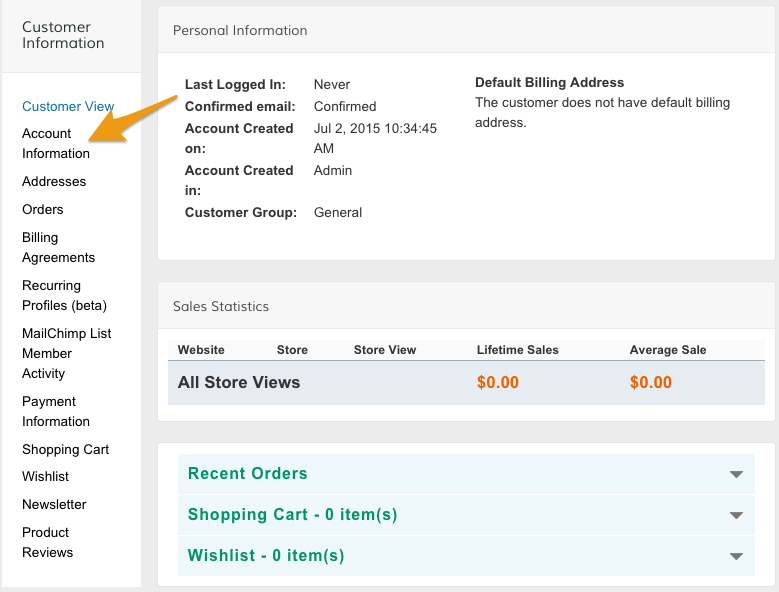
Then, select your Customer Group from the Group menu.
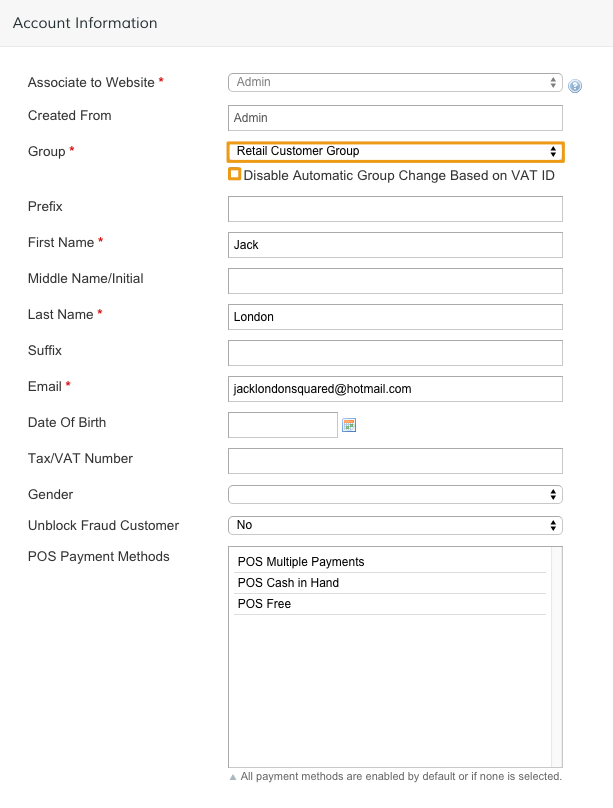
Note: If you want this group exempt from VAT ID taxation rules, select the Disable Automatic Group Change Based on VAT ID checkbox.
After completing your update, click Save Customer.

Step 4 - Remove Customer Group (optional)
From the Customer Groups page, hover over the Customer Group you wish to delete and click the corresponding dropdown icon. Select Delete.
Comments
0 comments
Please sign in to leave a comment.