You usually won't need to create a new customer in Zoey because most customers opt to do this while checking out. However, when you do need to, customer setup is easy! Manual customer creation is most useful when you are creating a customer in order to place a manual order for them from the Control Panel.
| 1 | Visit customer list |
| 2 | Set up customer information |
| 3 | Create a customer password |
| 4 | Add a customer address |
| 5 | Save |
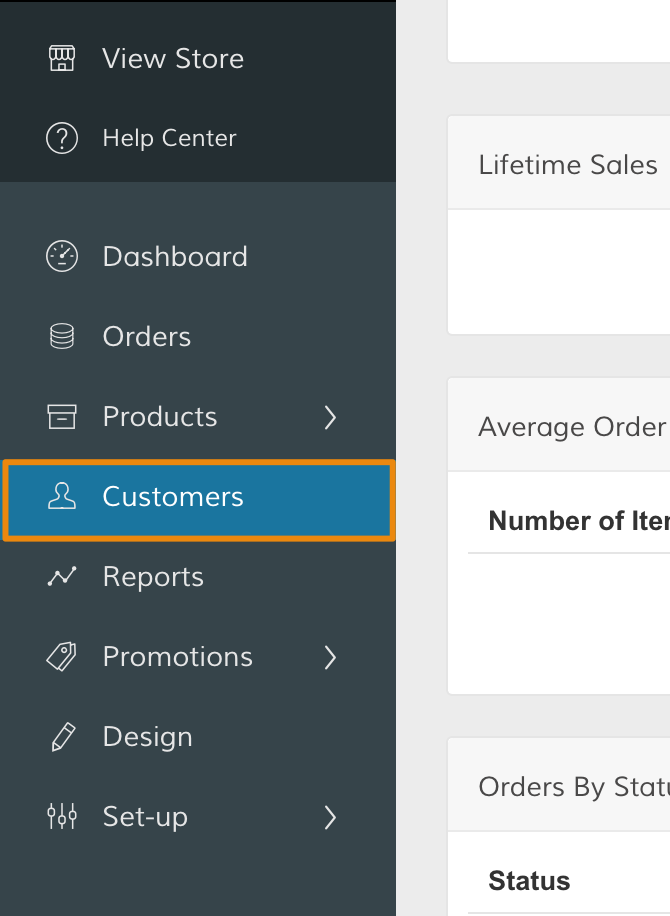
Step 1 - Visit customer list
In your Control Panel, select Customers.
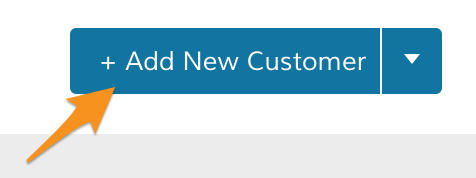
From the Manage Customers page, click Add New Customer.
Step 2 - Set up customer information
From Manage Customers > New Customer, enter in your customer's information. We define a few settings below:
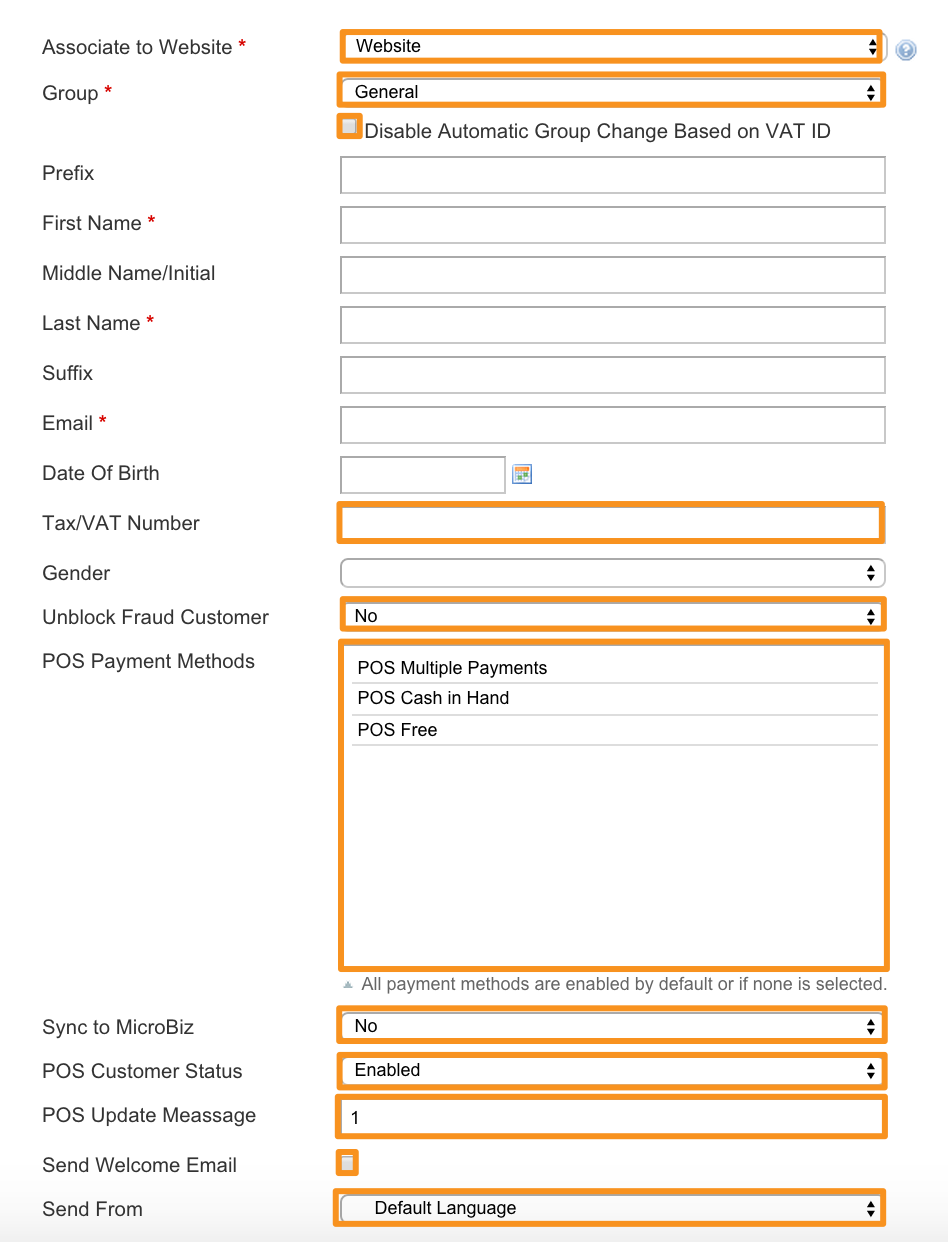
- Associate to Website - Define the relationship and level of access your customer has with your store. If your created customer is also an administrator of the store, select Admin. Otherwise, select Website. You cannot send welcome emails unless it is unchecked.
- Group - Choose a customer group. We discuss customer groups in detail here. If you want the customer's group identification to be independent from their VAT tax ID, select the Disable Automatic Group Change Based on VAT ID checkbox.
- Tax/VAT Number - If your customer has a tax or VAT number to receive a distinct tax rate, enter the number here.
- Unblock Fraud Customer - Select Yes or No
- POS Payment Methods - Select the point of sale methods your customer is eligible to use.
- Sync to MicroBiz - Select Yes to sync customer information to MicroBiz, a POS solution.
- POS Update Message - Enter a numeric value to determine how many update messages are sent.
- Send Welcome Email - Send a welcome email when the customer account is created.
- Send From - Determine which store view (and translation) your welcome email is sent from. We explain setting up store views here.
Note: Once your settings are saved, Associate to Customer cannot be changed. Review your settings before saving to ensure the customer account is set to your needs.
Step 3 - Create a customer password
In the Password Management section, enter a password for your customer. If you prefer to send an auto generated password, select the checkbox.

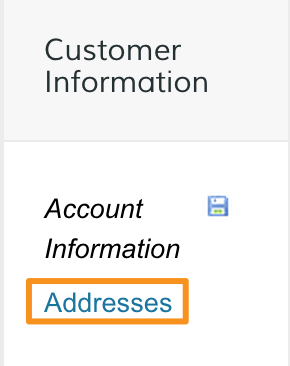
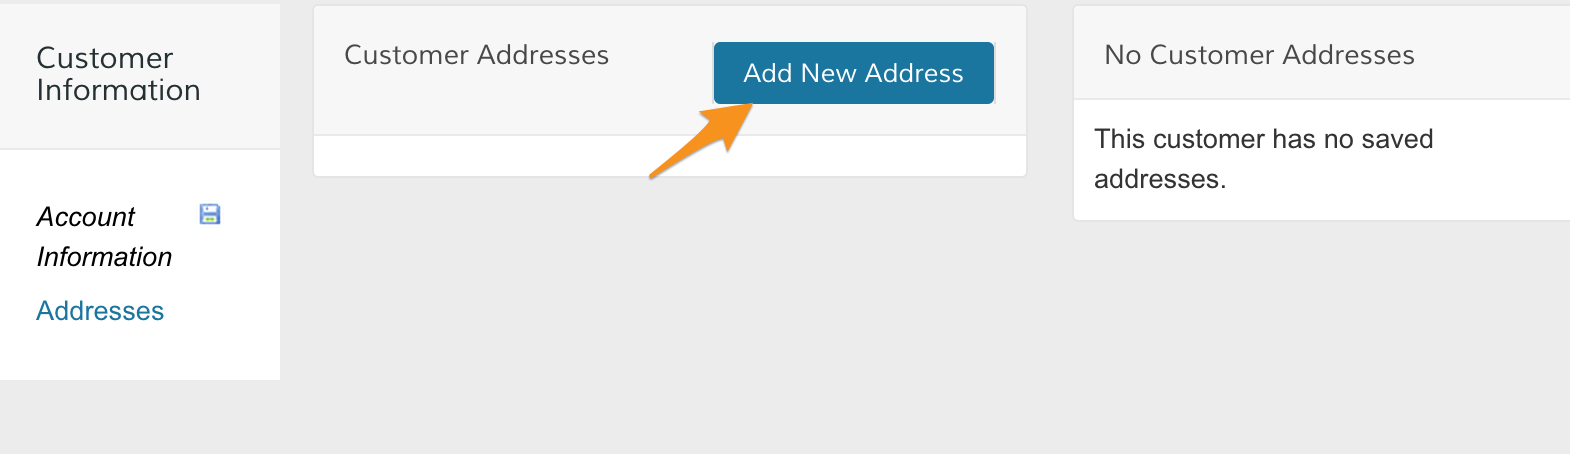
Step 4 - Add a customer address
Under Customer Information, click Addresses.
Then, click Add New Addresses
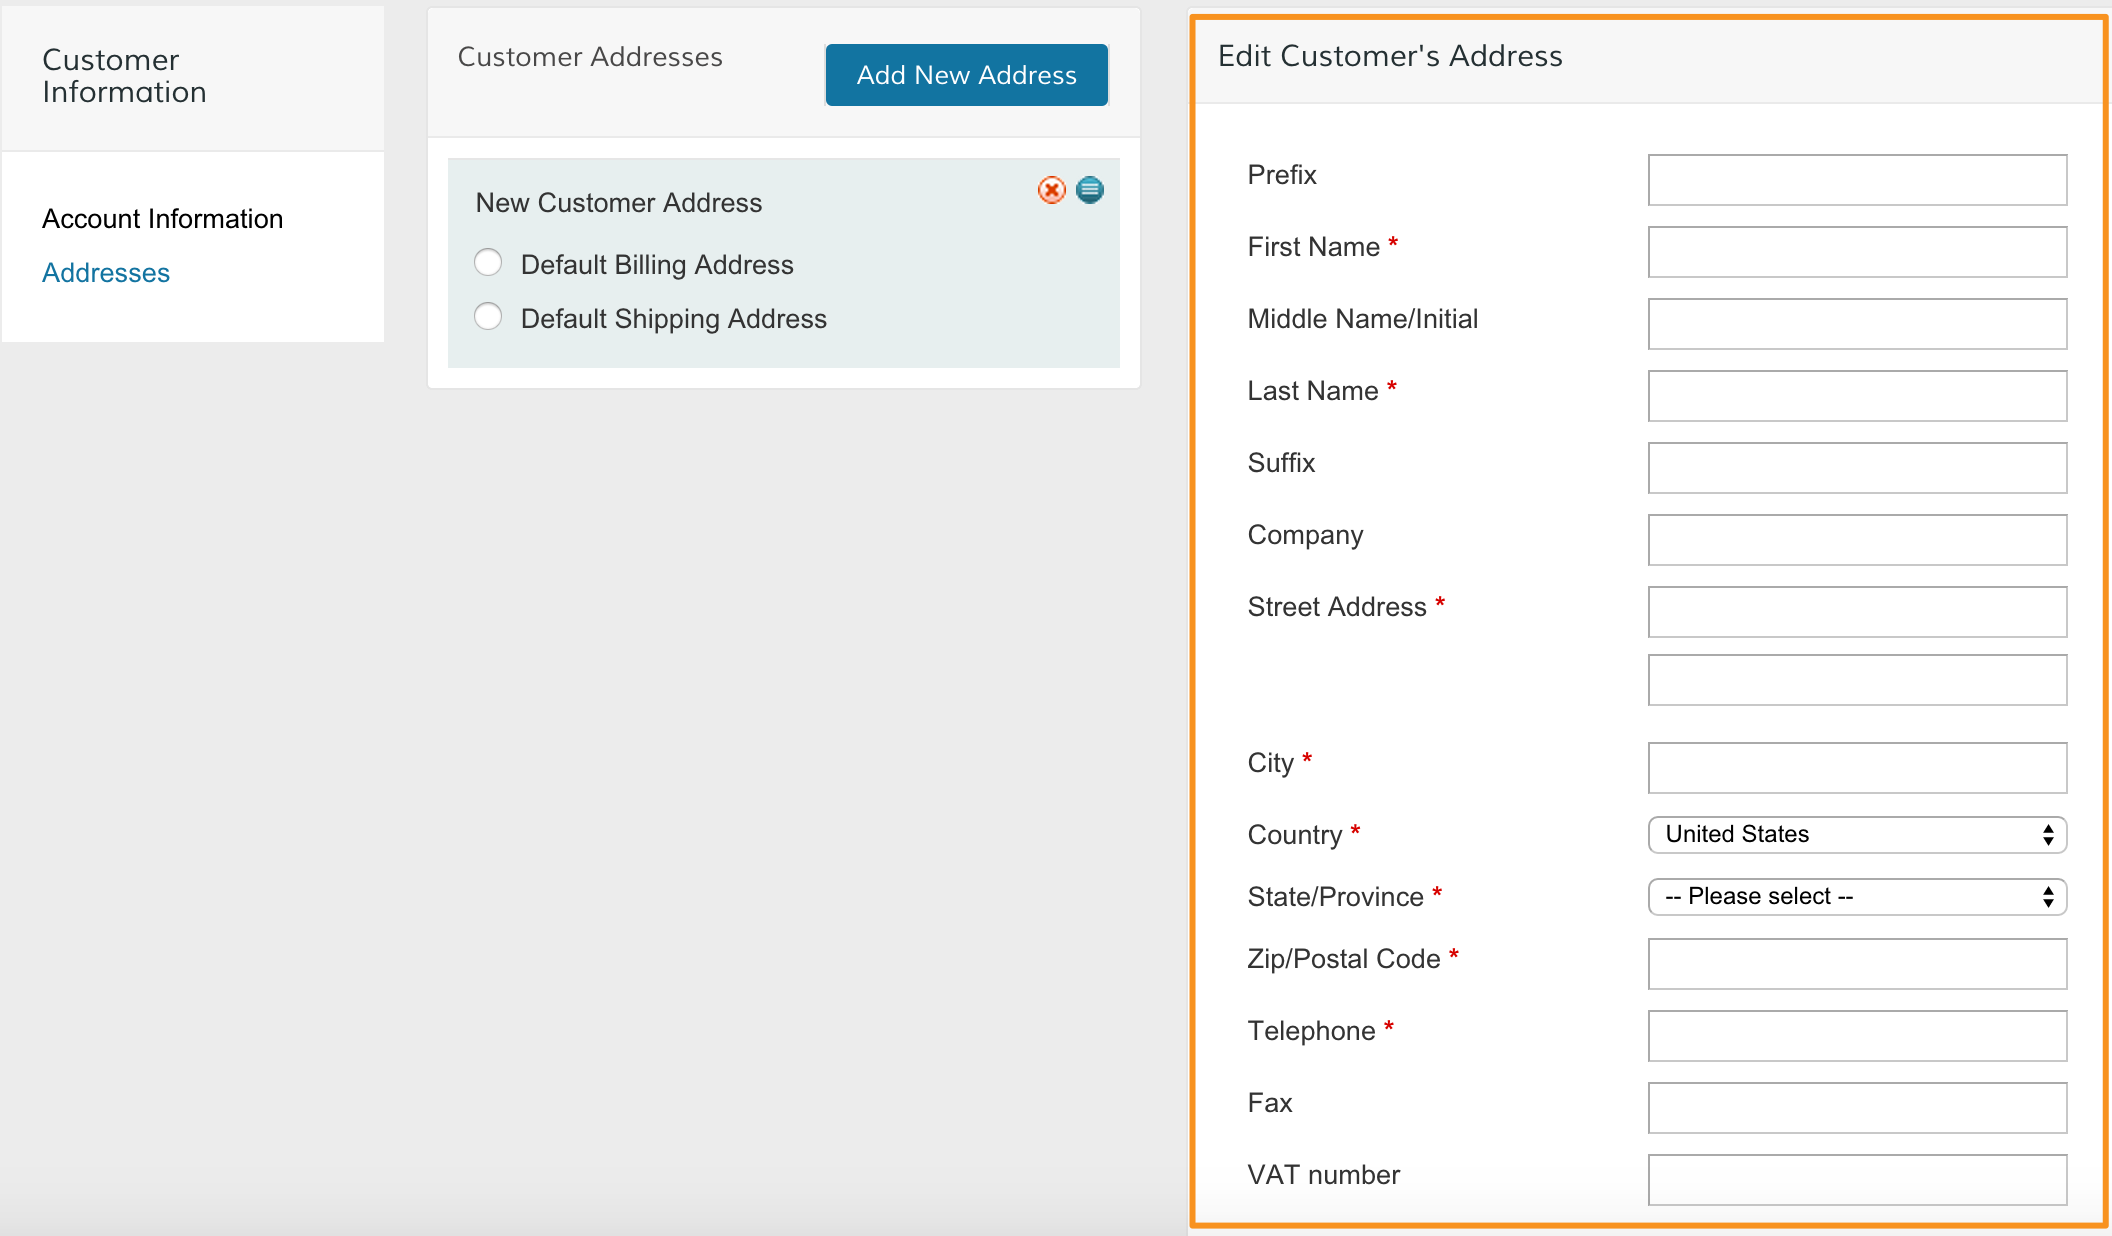
If your new address will be the Default Billing or Shipping Address, select the corresponding option.
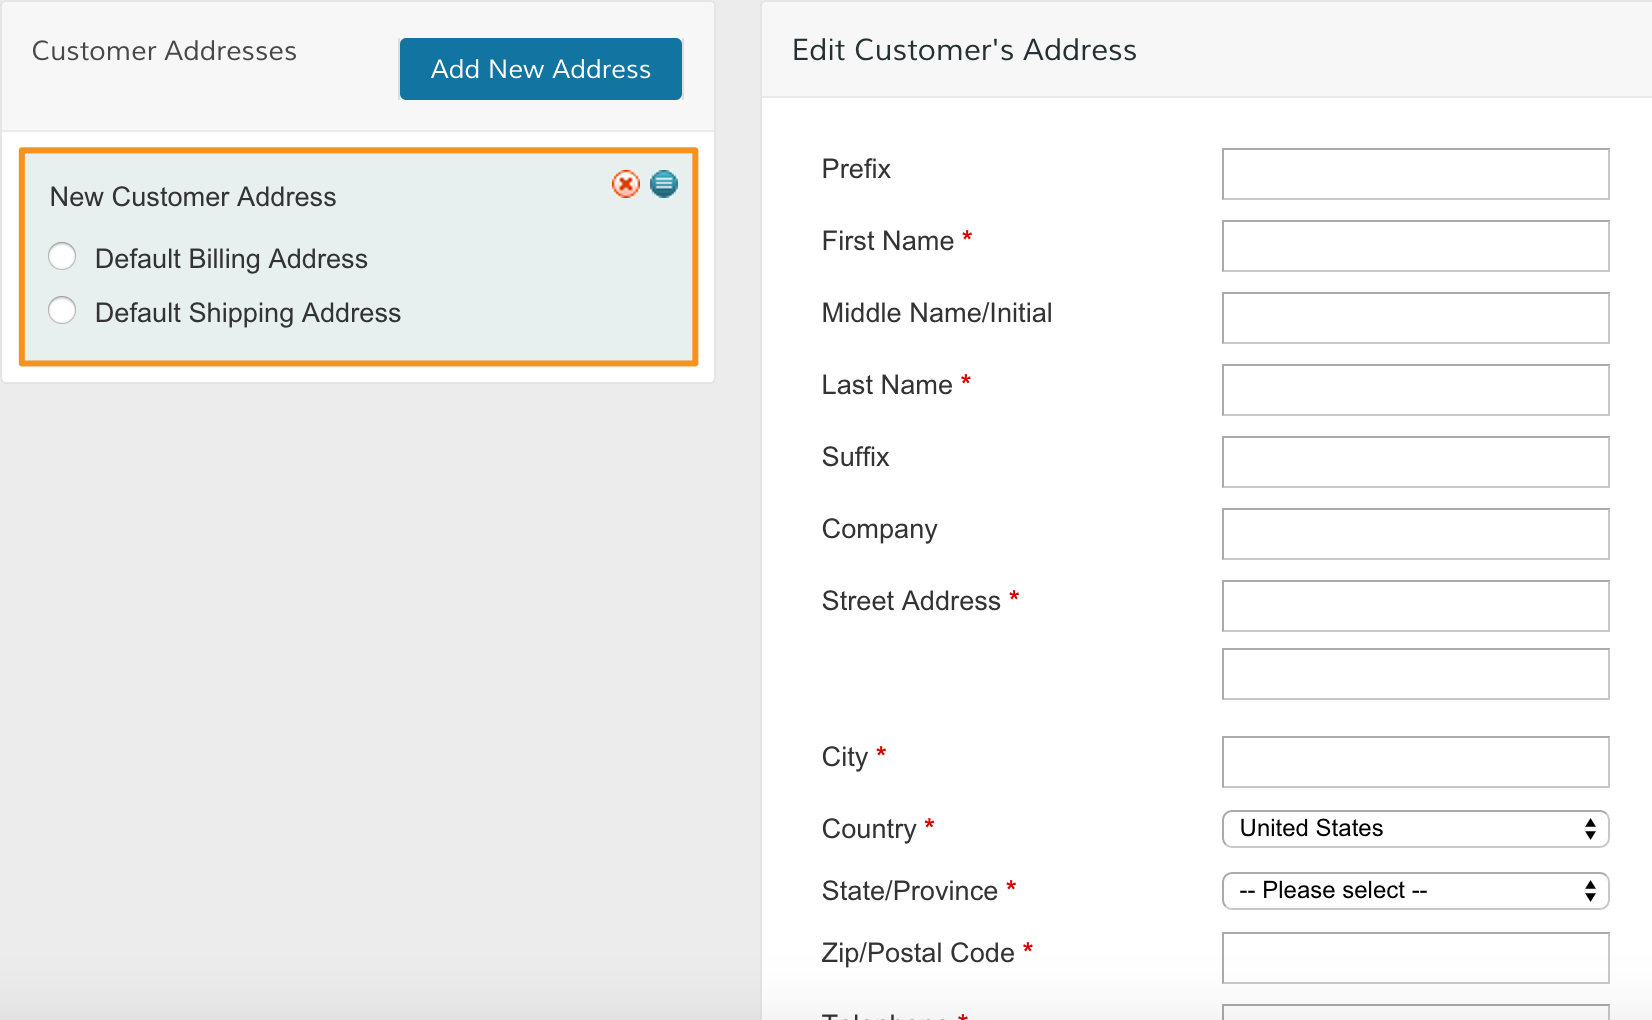
Then, enter your customer's address.
Step 5 - Save
When you finish entering in your customer's information and address, click Save Customer from the top right corner.
Comments
0 comments
Please sign in to leave a comment.