
All orders have an Order Status associated with each stage in the Order Processing Workflow. You can assign the status of an order on the Orders page, as well as create new ones that meet the needs of your store.
Note: This is not recommended for most users. The default settings will work for 99% of our users and all our tutorials work with these default statuses.
We recommend making adjustments to your statuses only after working through the default settings and evaluating your needs.
| 1 | Visit order status settings |
| 2 | Create new order status |
| 3 | Save order status |
| 4 | Assign order status |
| 5 | Save the status assignment |
Step 1 - Visit order status settings
From your Control Panel, hover your cursor over Set-up and click Checkout Settings.
Click the arrow icon next to Save to select Manage Order Statuses.
Step 2 - Create new order status
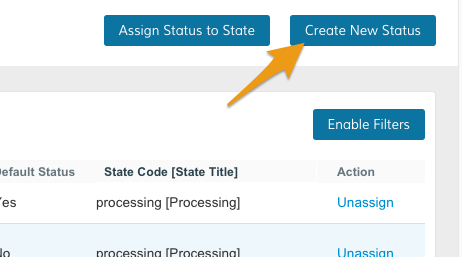
Click Create New Status from the top right of your page.
From the Order Status Information and Store View Specific Labels sections, enter information about your new order status.
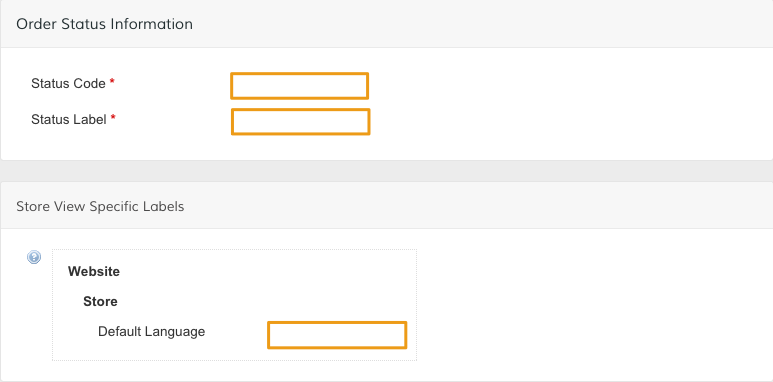
- Status Code - Enter in a numeric code for internal system use.
- Status Label - Create a title for the status setting. This will be visible from the Control Panel and the front end of your store.
Note: Required fields are marked by red asterisks.
Note: Some third party services sync best with the default order status options in Zoey. We only recommend creating a new order status or editing an existing status if it is a necessary part of your store's workflow.
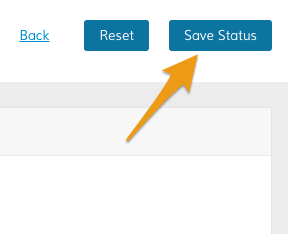
Step 3 - Save order status
Click Save Status.
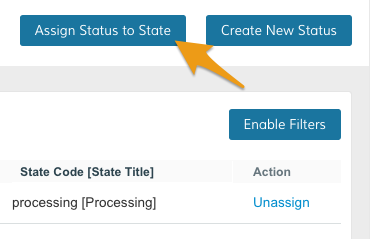
Step 4 - Assign Order Status
From your Order Status page, click Assign Status to State.
Then, update the settings from the Assignment Information.
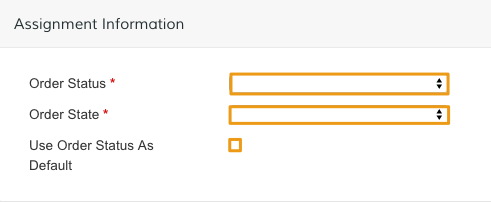
- Order Status - Choose an existing order status. You can choose from one of our default options, or a custom status you created.
- Order State - Choose from the following options to describe how close your order is to completion.
- New
- Pending Payment
- Processing
- Complete
- Closed
- Canceled
- On Hold
- Payment Review
- Use Order Status As Default - Set a specific status value as the default for this selected state.
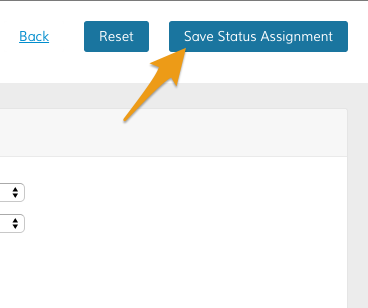
Step 5 - Save the status assignment
When your settings are complete, click Save Status Assignment.
Comments
0 comments
Please sign in to leave a comment.