
An invoice is a record of the receipt of payment for an order. Creating an invoice for an order converts the temporary sales order into a permanent record of the order, which cannot be canceled. Multiple invoices can be created for a single order, each containing as many or as few of the purchased products that you specify.
You will need to create an invoice before shipping any orders. If you have your invoice ready, you can learn how to ship your order here.
| 1 | Visit order settings |
| 2 | Create invoice |
| 3 | Add shipping information (optional) |
| 4 | Add invoice comments (optional) |
| 5 | Submit invoice |
| 6 | Print invoice (optional) |
| 7 | Further reading |
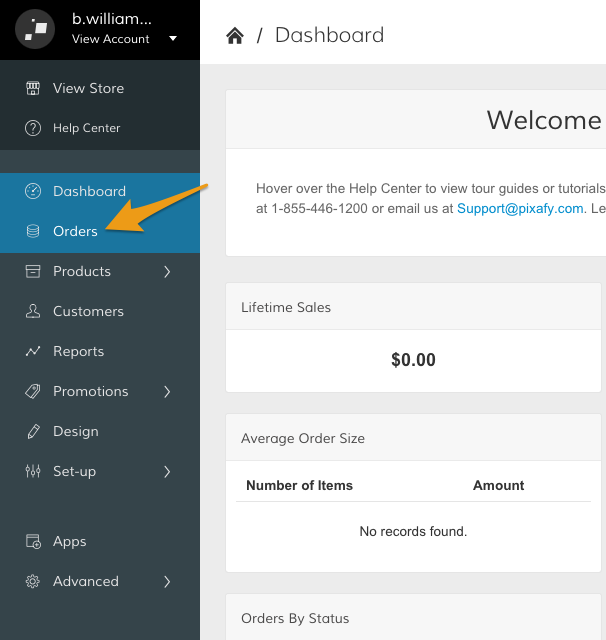
Step 1 - Visit order settings
From your Control Panel, click Orders.
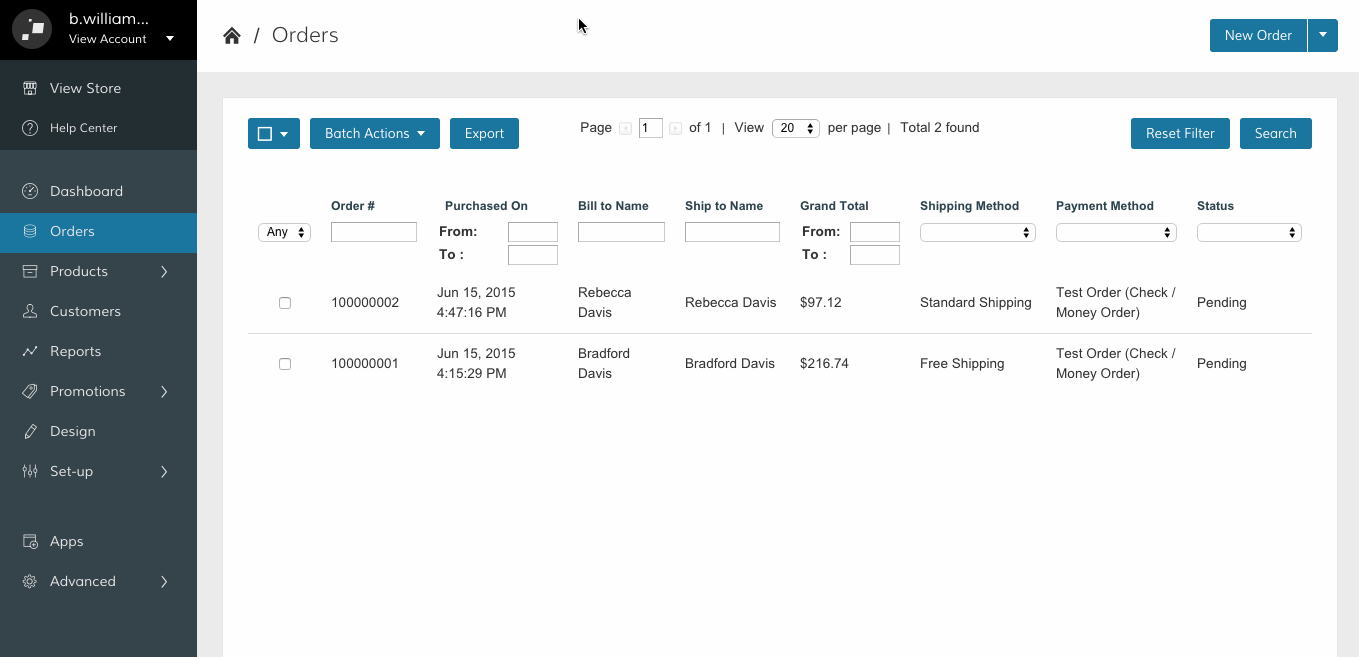
Step 2 - Create invoice
From your Orders page, select the order you want to invoice.
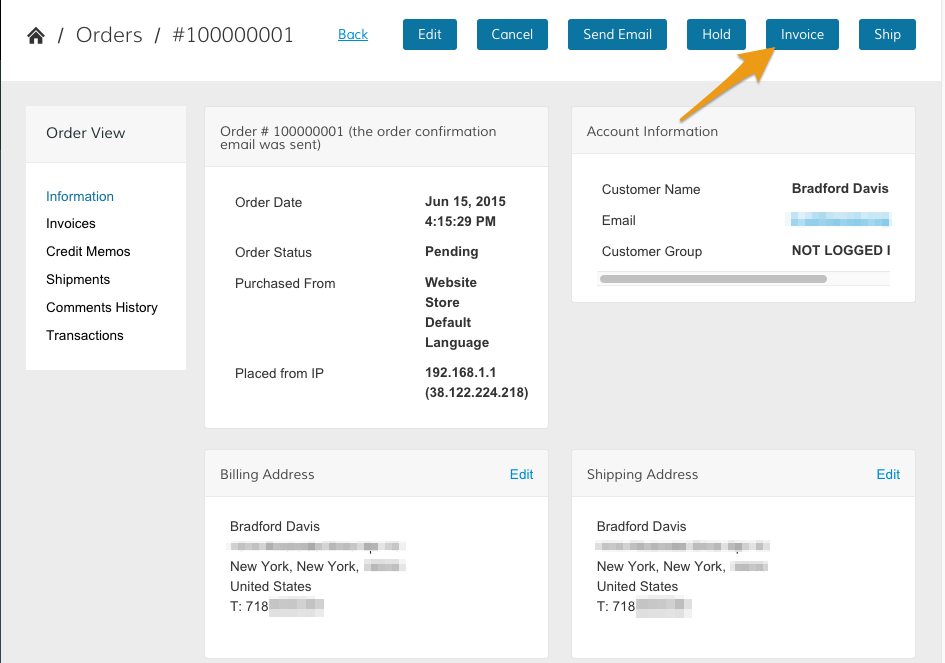
Then, click Invoice.
Step 3 - Add shipping information (optional)
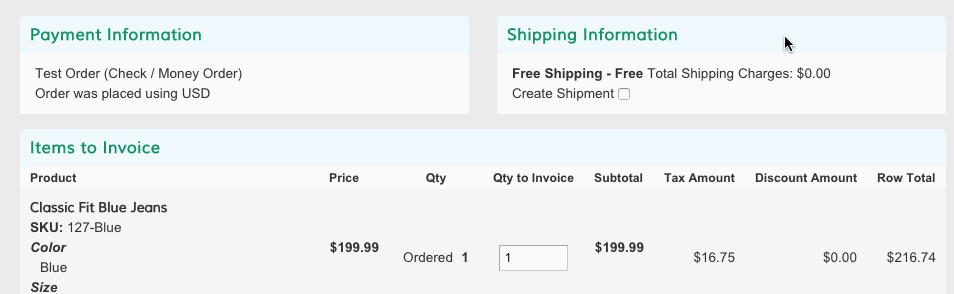
If your items are ready to ship, scroll down to Shipping Information and click the Create Shipment checkbox.
Note: If you are not ready to enter shipping information, you can perform this step separately. See the Shipping an Order guide for more information.
If you want to assign a tracking number, click Add Tracking Number.
![]()
There are three fields for customizing your tracking number.
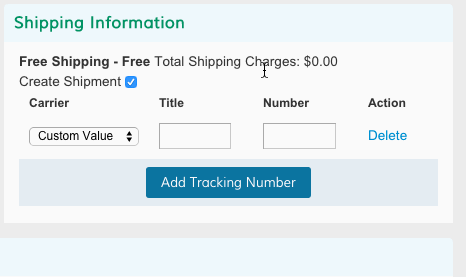
- Carrier - Choose the postal service being used to ship the order
- Title - Automatically fills with established shipping providers. Choose Custom Value to enter in a unique title.
- Number - Enter a numeric value for your invoice's tracking number.
Step 4 - Add invoice comments (optional)
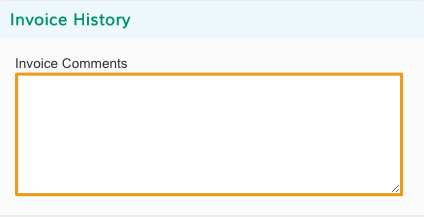
Enter in extra information about the order or unique instructions for your customer from Invoice Comments.
Step 5 - Submit Invoice
When your invoice is ready to be completed, scroll to Invoice Totals. You will have a few options before submitting your invoice.
- Email Copy of Invoice - Click this checkbox to send your customer a copy of the invoice.
- Append Comments - Use this option to send customized information about the order (See Step 4). The checkbox is only editable if you click Email Copy of Invoice.
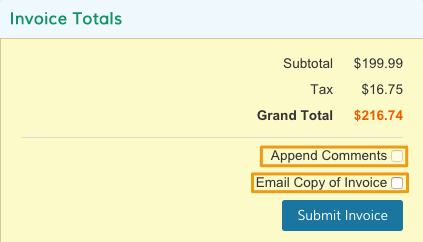
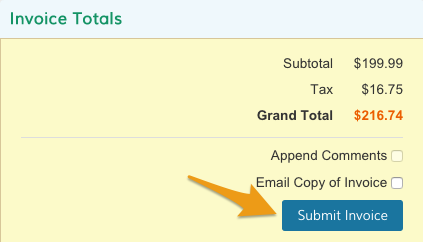
When you're done, click Submit Invoice.
Step 6 - Print invoice (optional)
From the invoice page, click Print.
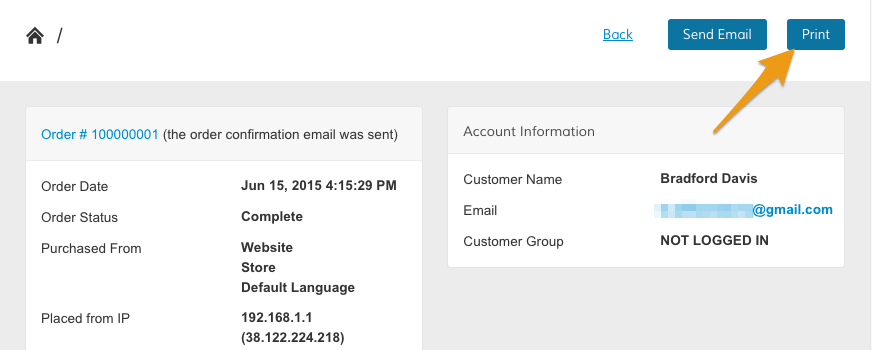
This opens your browser's download queue and saves the invoice as a PDF.
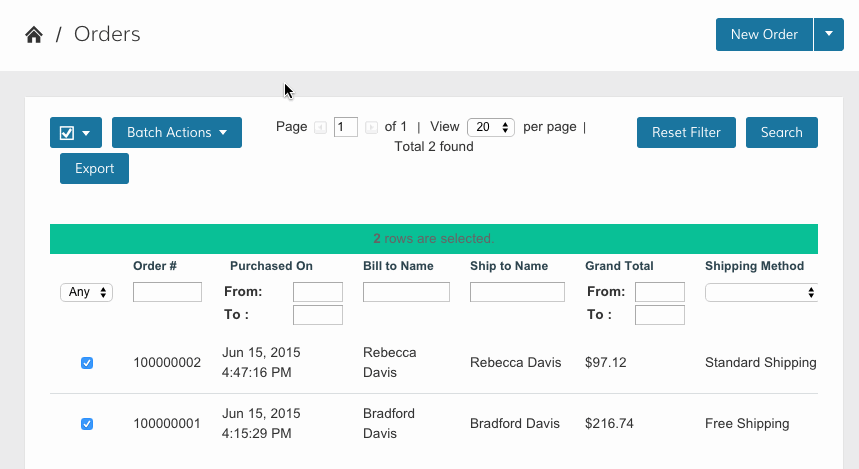
Note: You can select multiple invoices for print by visiting the Orders page and selecting multiple orders with completed invoices. From the Batch Actions menu, click Print Invoices.
Comments
0 comments
Please sign in to leave a comment.