| 1 | Visit Localization settings |
| 2 | Set checkout countries |
| 3 | Set State and Province options |
| 4 | Set Locale options |
| 5 | Save |
Your Localization settings allow you to determine which markets your store will serve with precision and flexibility.
Step 1 - Visit Localization Settings
In your Control Panel, hover your cursor over Set-up and select Localization.
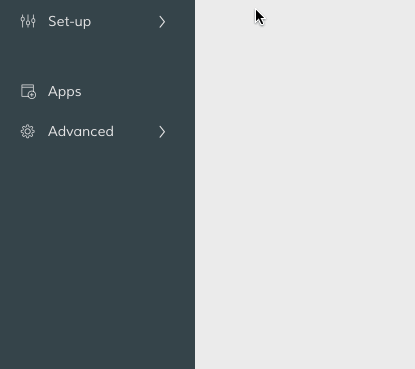
Then, scroll to Localization Settings and select Manage.

Step 2 - Set checkout countries
Scroll to Countries Options. Then, update the following settings:
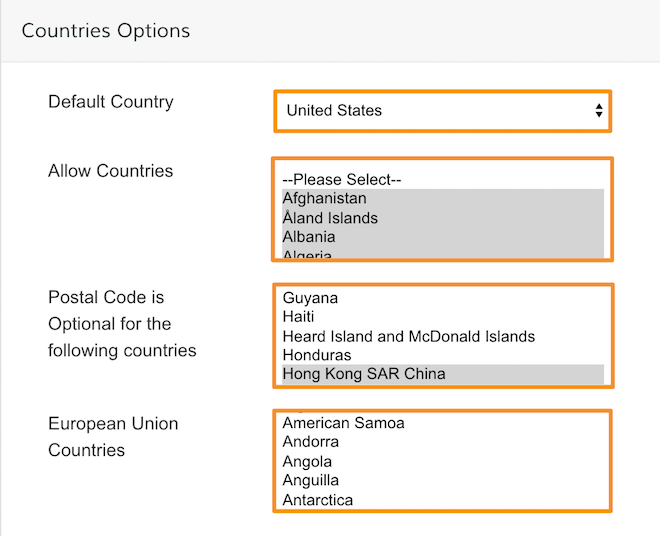
- Default Country - This displays as the first country a customer can select at checkout.
- Allow Countries - Set the countries your customers are allowed to checkout from.
- Postal Code is Optional... - Select countries that will not require entry of a postal code.
- European Union Countries - Select the countries that will appear as European Union.
Note: To select all countries, hold CTRL (Windows) or Command (Mac) + Shift, then click within the window. To select multiple countries, hold CTRL or Command and select each country individually.
Step 3 - Set State and Province Options
Scroll to States Options. Then, update the following settings:
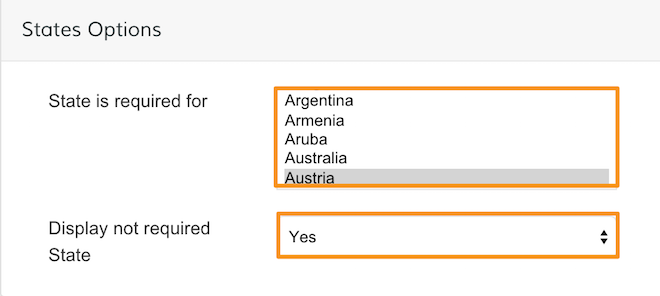
- State is required for - Select the countries you require a state to be entered by customers in checkout.
- Display not required State - Select Yes to allow countries that don't require a state or province entry to display a State field on your store frontend. Select No to hide the state field for those countries.
Step 4 - Set Locale Options
Scroll to Locale Options. Then, update the following settings:
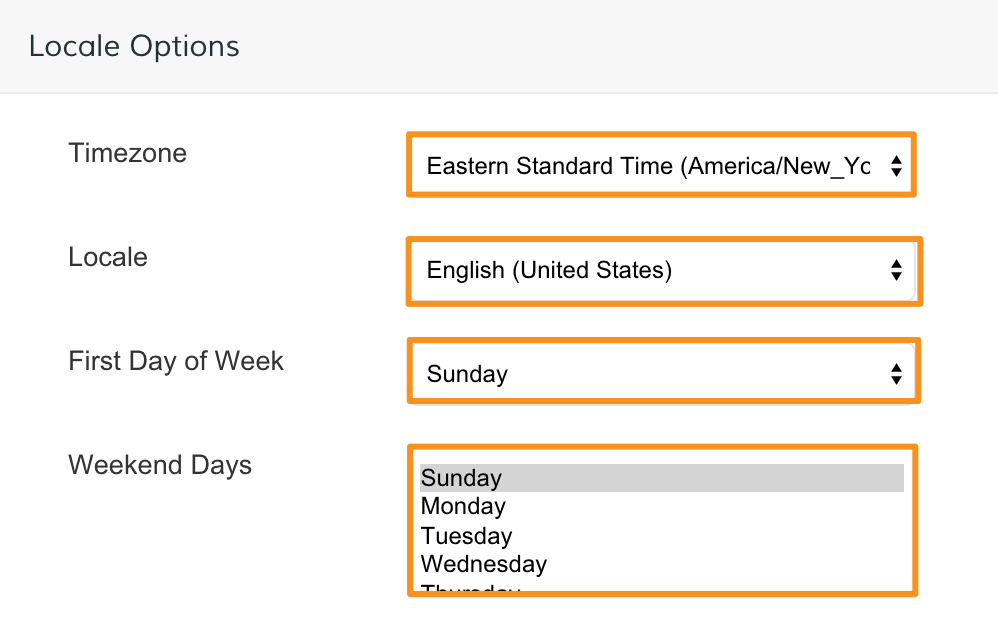
- Timezone - Set the time zone of your store's primary market.
- Locale - Set to your store language.
- First Day of Week - Set the first day of the week in your primary market.
- Weekend Days - Set the days that fall on the weekend in your primary market.
Note: To select all, hold CTRL (Windows) or Command (Mac) + Shift, then click within the window. To select multiple countries, hold CTRL or Command and select each item.
Step 5 - Save
At the bottom of your Localization Settings, click the Save icon.

Now, your checkout process is set to allow purchases from locations that represent your market.
Comments
0 comments
Please sign in to leave a comment.