
A picture is worth a thousand words, but accurate, beautiful product images are also one of the easiest and most effective marketing tools. This tutorial will show you how to add product images in less than 5 minutes.
This tutorial assumes you have already created a product. If you have no yet created one, please visit Adding a New Product to learn more.
| 1 | Where will these images show? |
| 2 | Visit your Product |
| 3 | Select and Upload Images |
| 4 | Set Image Options |
| 5 | Save and Refresh Store |
| 6 | Troubleshooting Images |
| 7 | Further Reading |
Where will these images show?
These images can show in many places, depending on your settings and customizations. You'll see the them on the Category pages, the Product Pages, and in Product Widgets such as New or Featured Products. If you have enabled these features, you might also see these images in your shopping cart or invoices and packing slips.
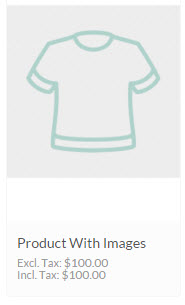
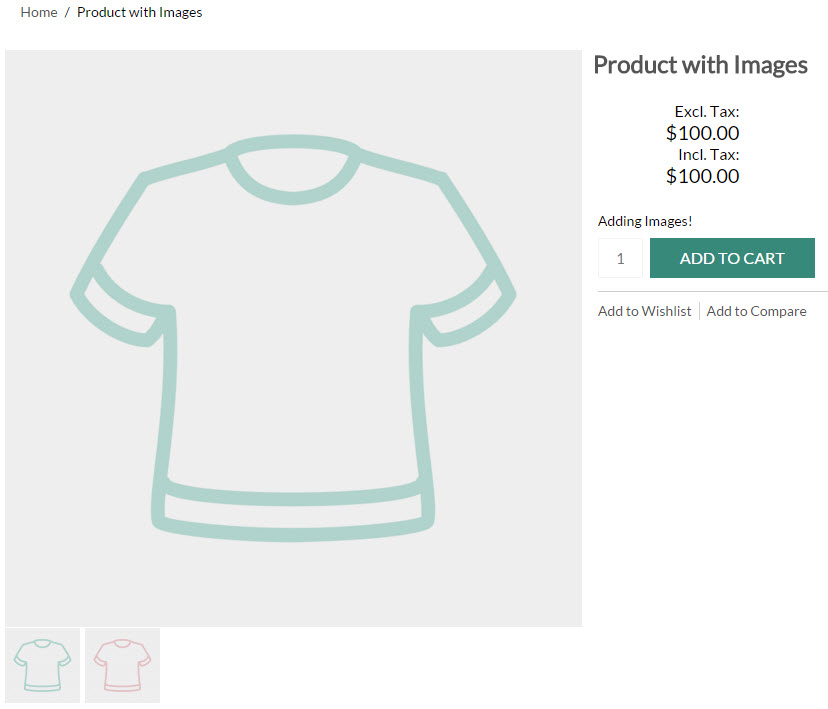
Here's how your product image might look in a category:
Visit your Product
From your control panel, go to Products > Product List and find the product you wish to edit.
Click on the product's name to edit.
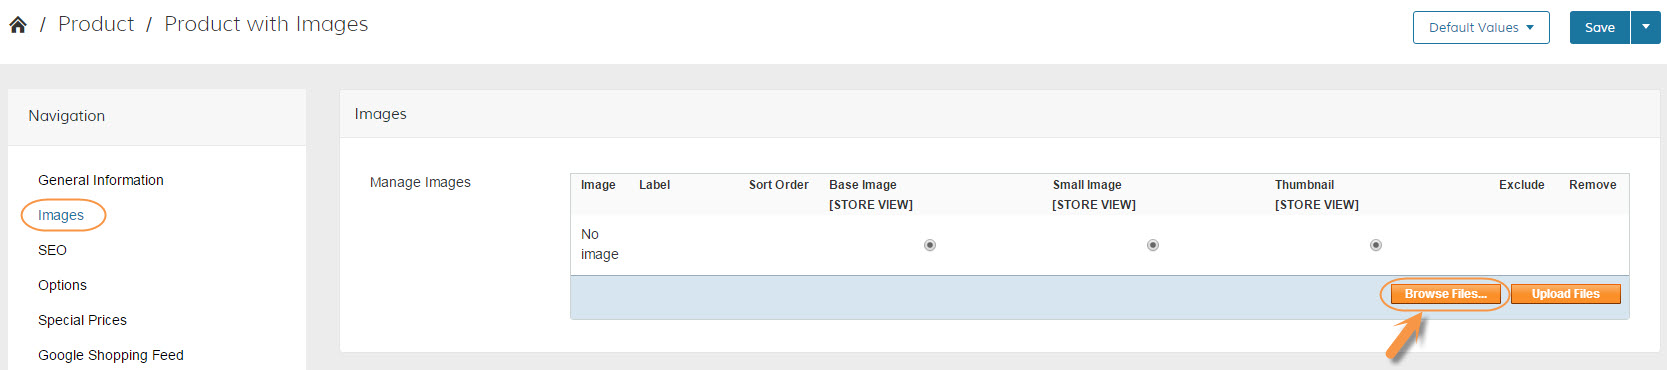
Once inside your Product, click on "Images" in your product's navigation.
Please note that if you do not have Images as an option in the product's navigation, you may have your attributes organized differently. To learn more about organizing your attributes and creating or editing this area, please see Creating and Managing Attribute Sets
Select and Upload Images
Now that we have found where to add our images, click on "Browse Files" to search your computer for the images you wish to upload.
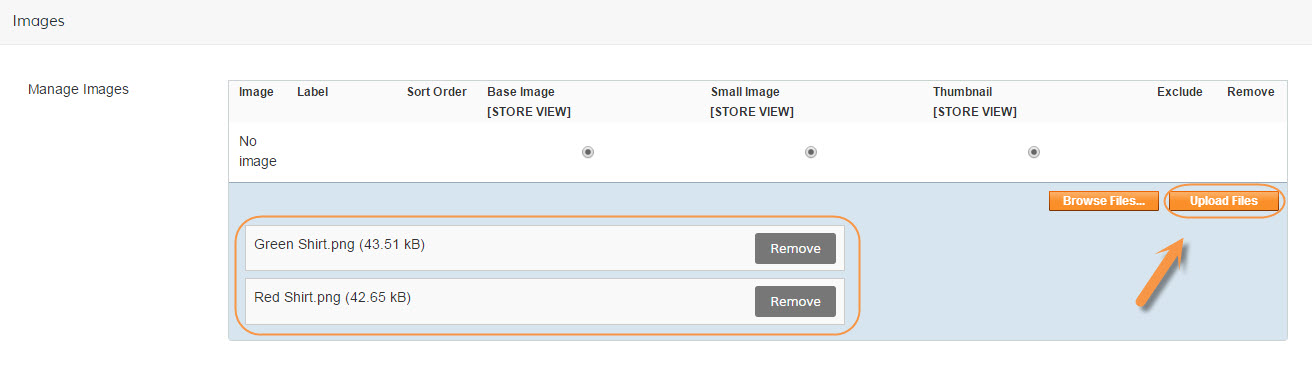
As you select images from your computer, you will see the files appear on the page.
Should you add accidentally add the wrong file, click remove to the right of the file name.
Once you have the images for this product selected, click Upload Files.
Set Image Options
You should now see the images you have uploaded! Hover over the thumbnails to preview these images. You can now access the following features:
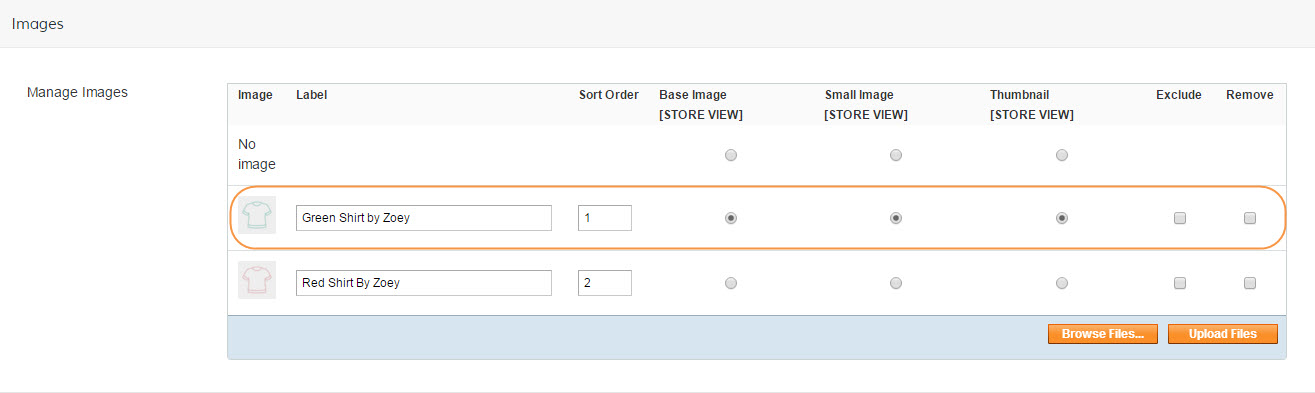
- Labels - This text is shown when the user hovers over the image.
- Sort Order - Assign the order in which the images appear, the lower the number the further to the left it will be: 1, 2, 3
- Base Image - Use this to select your product's Main Image.
- Small Image
- Thumbnail
- Exclude
- Remove
Save and Refresh Store
In order to see these changes in your store, you will need to first save your work on this page, but also refresh your store.
Click on Advanced > Refresh Your Store and you're all set! You can now checkout your new images on your front of store.
Troubleshooting Images
Here are some of the common issues users come across with their images:
- My products are not displaying
Check out our Product Troubleshooting guide - My images are not showing- it's the default image and not the one I uploaded
First make sure you have refreshed and re-indexed your store as well as cleared your browser's cache.
If this does not resolve the issue, check that an image has been assigned to the Base, Small and Thumbnail options. - My store seems really slow now
We recommend keeping your images to 70kb or less. Larger images mean longer load time.
Not sure how to get your images smaller? You can try using a compression tool such as Compressjpeg.com - I only see the images for my configurable product. What about the ones on the associated simple products?
At this time you can only view multiple images in the Configurable Product. The simple products can display an alternate image if you have set up Swatches and set one image to "Base Image".
Please note swatches are an advanced feature for users who already have a good grasp of attributes and products.
Further Reading
Ready to learn more? We think you might be interested in:
- Creating Swatches
- Printing Product Images on Invoices
- Bulk Image Import for Products - Advanced Tutorial
Comments
0 comments
Please sign in to leave a comment.