
Step 1 - Visit Design Settings
In your Control Panel, click Design.
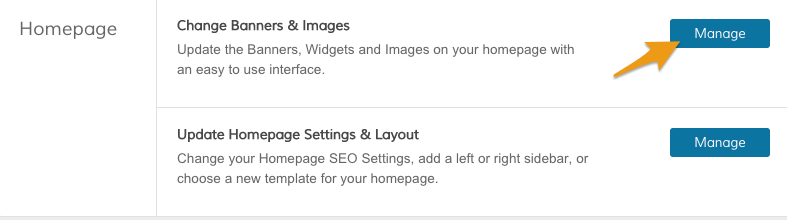
From your Design page, scroll to the Homepage section. Within the Change Banners & Images subsection, click Manage.
Step 2 - Edit Banner
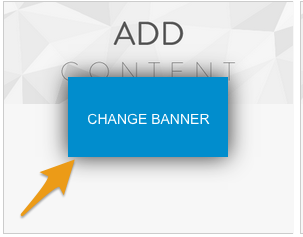
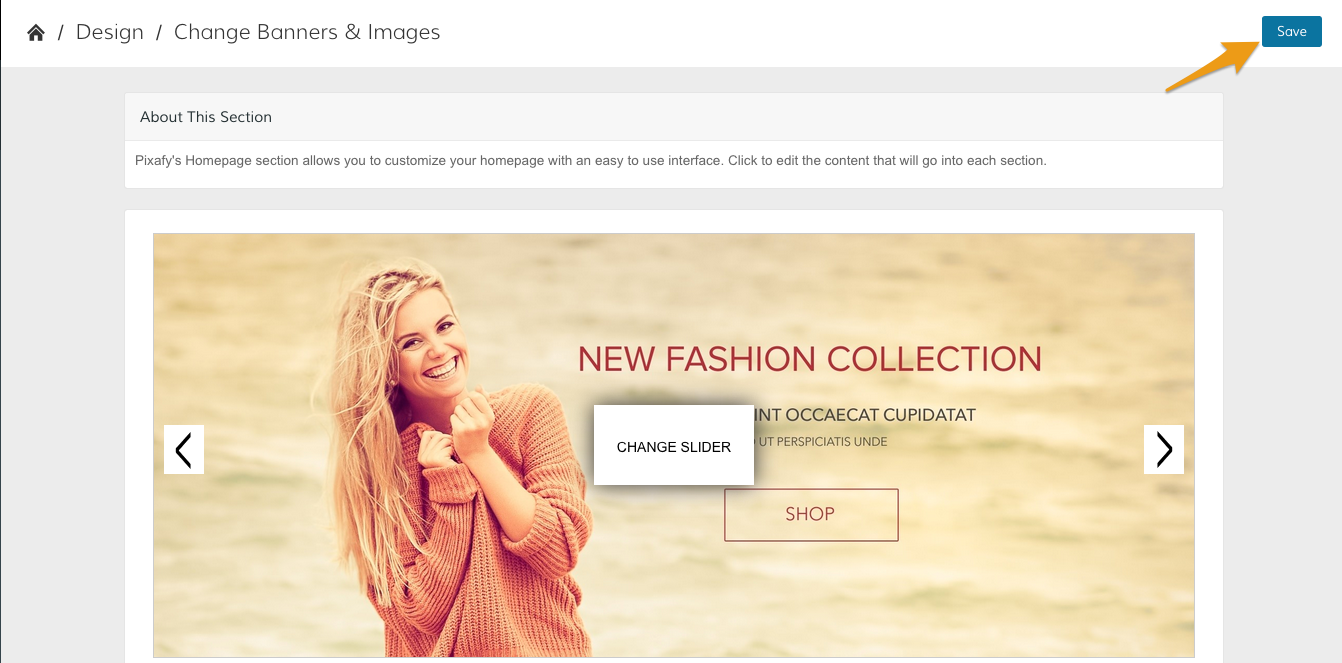
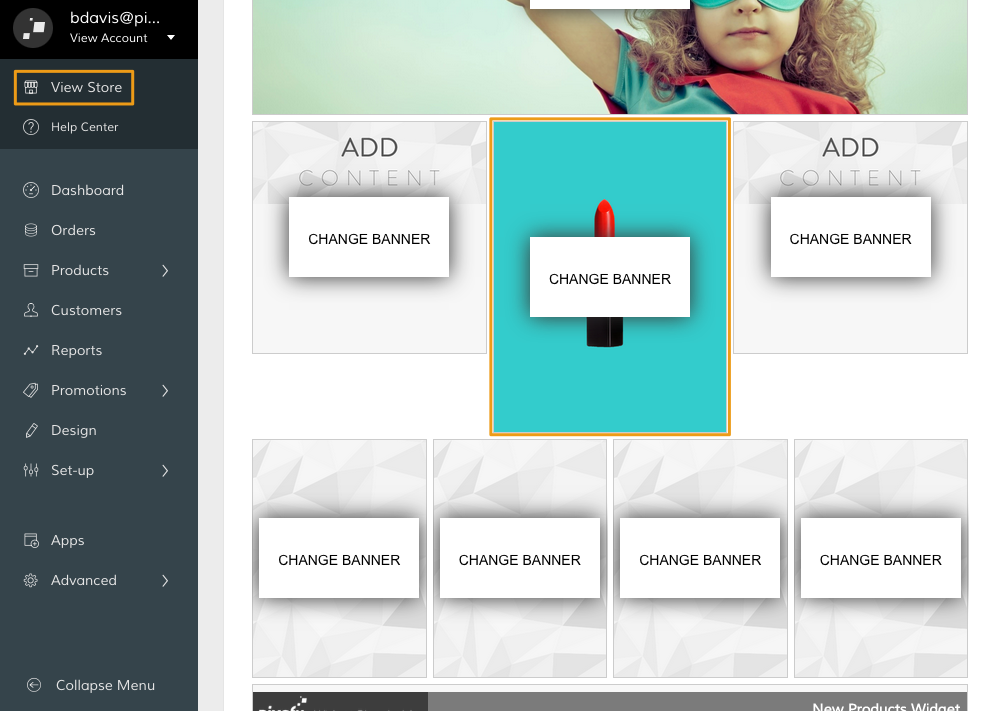
From the Change Banners & Images page, select the banner you want to adjust and click Change Banner.
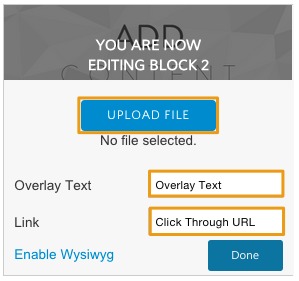
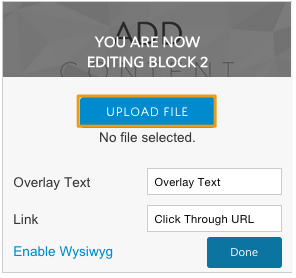
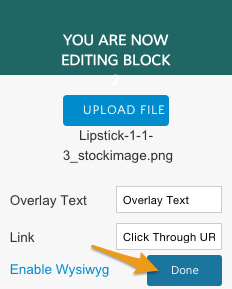
You will see a variety of settings for adjusting your banner.
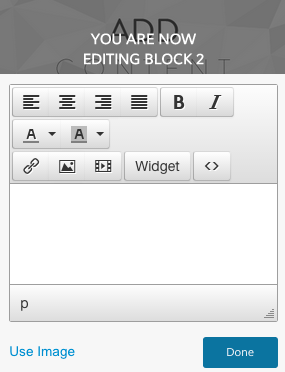
Note: Depending on your template, some banners will default to a simple image uploader, while others will default to the more advanced WYSIWIG. You can default between the two by clicking on the Enable Wysiwyg/Use Image link in the bottom left hand corner of your banner settings. We explain how to use the WYSIWYG here.
Step 3 - Add Image
You can quickly add an image by clicking Upload File. This will display a menu where you can browse image files from your computer for upload.
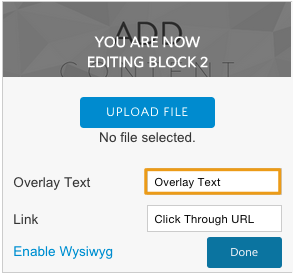
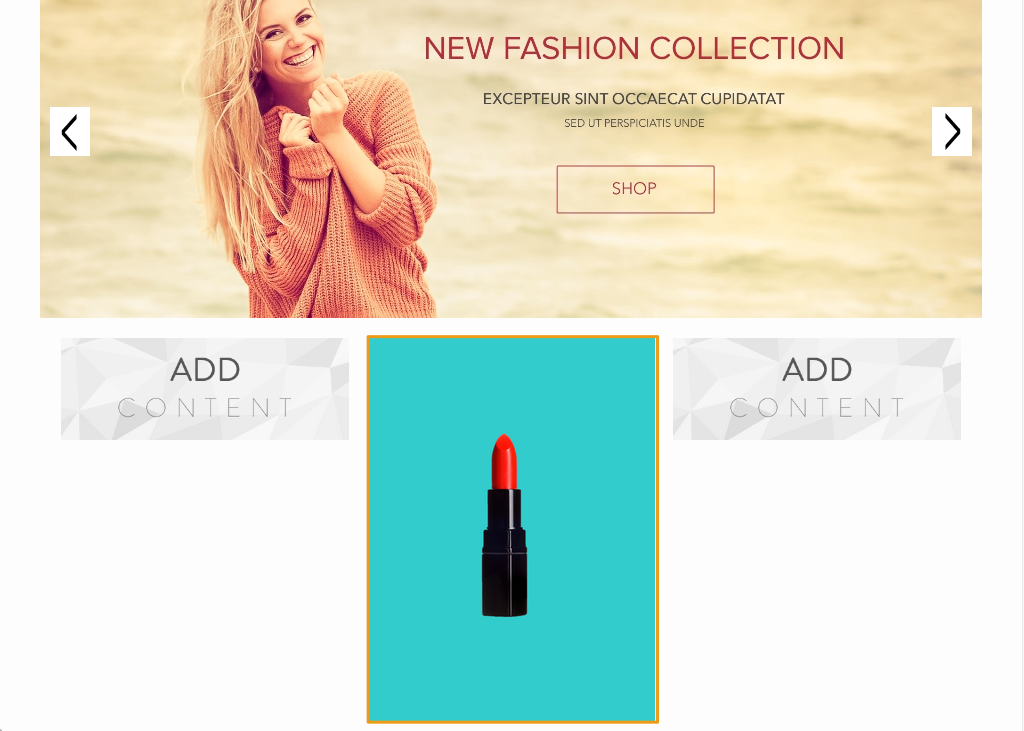
Step 4 - Add Overlay Text (optional)
If you would like to display text that displays over the image, edit the Overlay Text field.
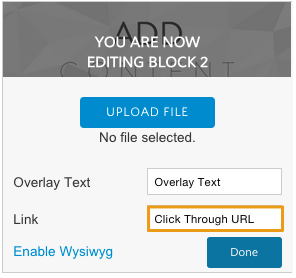
Step 5 - Link Banner (optional)
Your banner can link to a page in your site or an external website. Enter the URL key of the corresponding page in the Link field. If you want to link to an external page, enter the full URL.
Step 6 - Additional Banner Editing (optional)
You can open up a WYSIWYG editor to further customize the layout of your banner, as well as add additional formatting, code, and widgets.
Step 7 - Remove Banner (optional)
From the WYSIWYG settings, leave the text editor blank and click Done. This will remove the banner from your site.

Step 8 - Save and Refresh
When you're satisfied with your new banner, click Done. Make sure that if you click Done from the WYSIWYG settings, that there is content in the text editor (see Step 7).
Then, click Save.
From your Control Panel, hover over Advanced and click Refresh.
You can preview your banner from the Change Banners & Images page, or by clicking View Store.
Congrats! You've added your banner. Keep trying out new combinations of images, text, and embedded content to match your store's unique style!
Comments
0 comments
Please sign in to leave a comment.