
Please note this tutorial is only for our older classic Design themes and tools. For information on our new themes and how to use the updated tools, please see: Starting with Design and Advanced Design Tools.
Although you can still use the old Design tools, please be aware that we don't offer troubleshooting, assistance, bug fix or improvements for the classic Design tools.
Widgets are predefined extensions that allow you to place blocks and other content throughout your Zoey store. They are great tools for making quick additions of customized content that present important information across your site. We explain how to add a CMS Static Block (we'll refer to it as a "block") here.
Note: CMS Static Blocks are customizable sets of content that can be displayed on various content pages in a store.
Note: You must have a created block before you begin. We explain how to create a content block here.
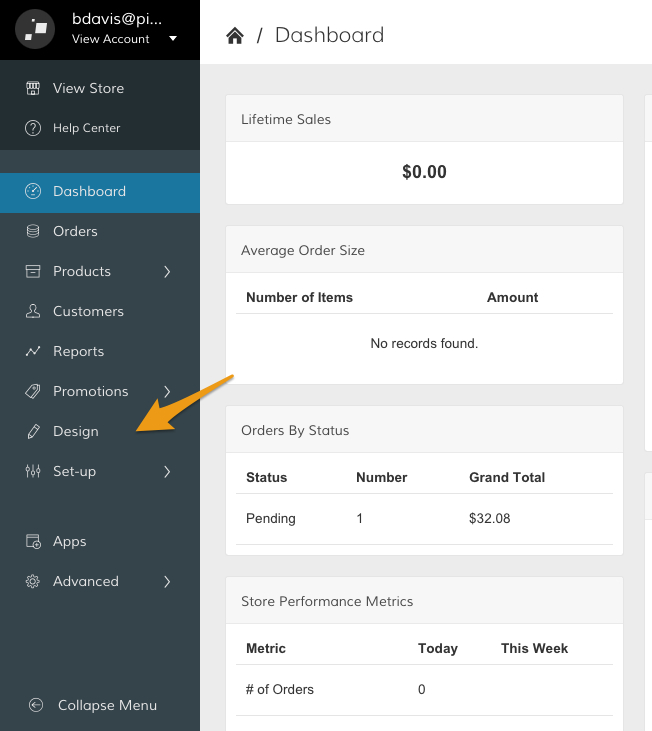
Step 1 - Visit Design Settings
In your Control Panel, click Design.
Step 2 - Add a Widget
Scroll down to the Widgets section and within the Add a new Widget subsection, click Manage.
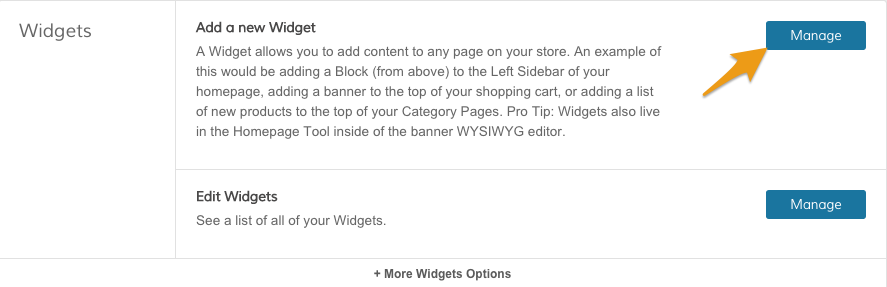
Note: If you would like to edit an existing widget, click Manage within the Edit Widgets subsection.
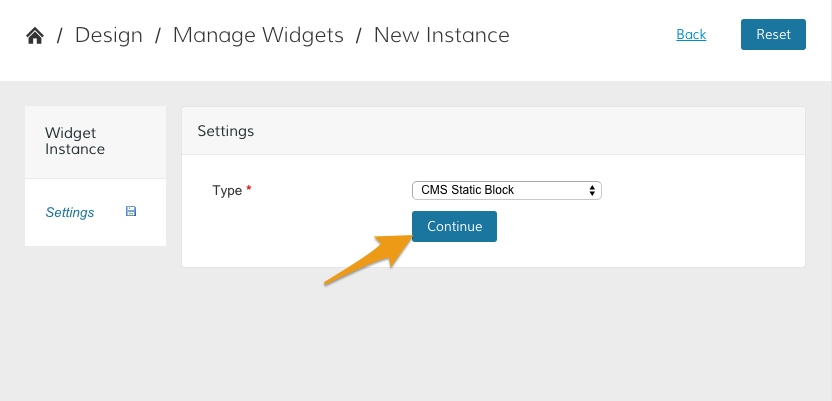
Step 3 - Select CMS Static Block
From the Type dropdown menu, select CMS Static Block.
Then, click Continue.
Step 4 - Update Settings
From your New Instance page you will see a collection of settings.
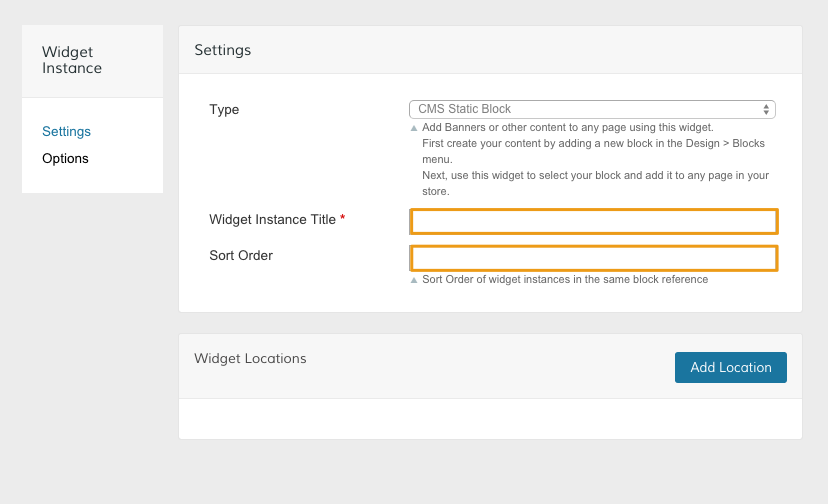
- Widget Instance Title - Create an easy to recognize name for your Widget
- Sort Order - Place a number to determine the order your widget appears.
Note: Fields marked with a red asterisk are required to complete your widget.
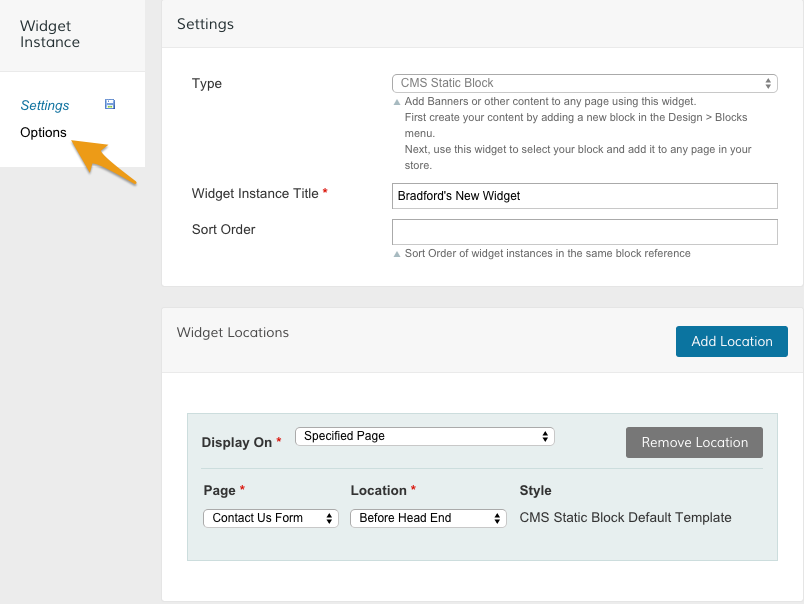
Step 5 - Add Widget Locations
Click Add Location to choose where your widget will appear when customers view your site.

You can choose between three main placements for your widget from the Display On dropdown menu.
- Categories - Assign your widget to appear with specific product categories
- Products - assign your widget to appear with the product type of your choice
- Generic Pages - assign your widget to appear on specific pages across your Zoey, or set the widget to appear on every page without restriction.
Note: You can select different location options for your widget to display depending on the type of page. have different settings depending on how you place your widget. We illustrate this in further detail here.
Step 6 - Choose Block
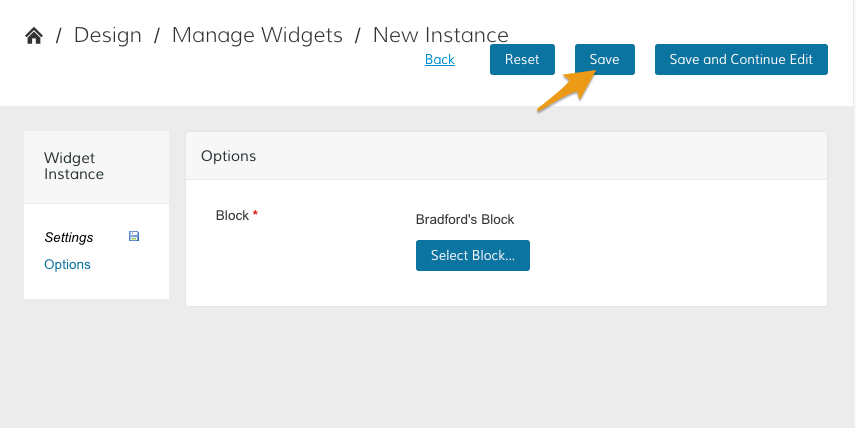
After you set your location, click Options.
Then, click Select Block....
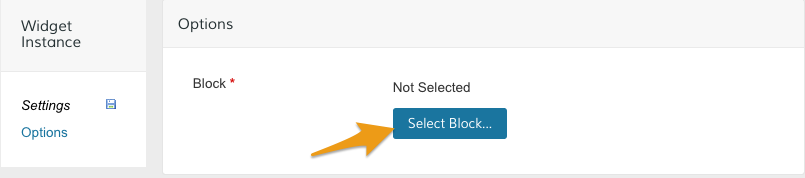
A list of previously created blocks will display, allowing you to choose which block will be assigned to the widget.
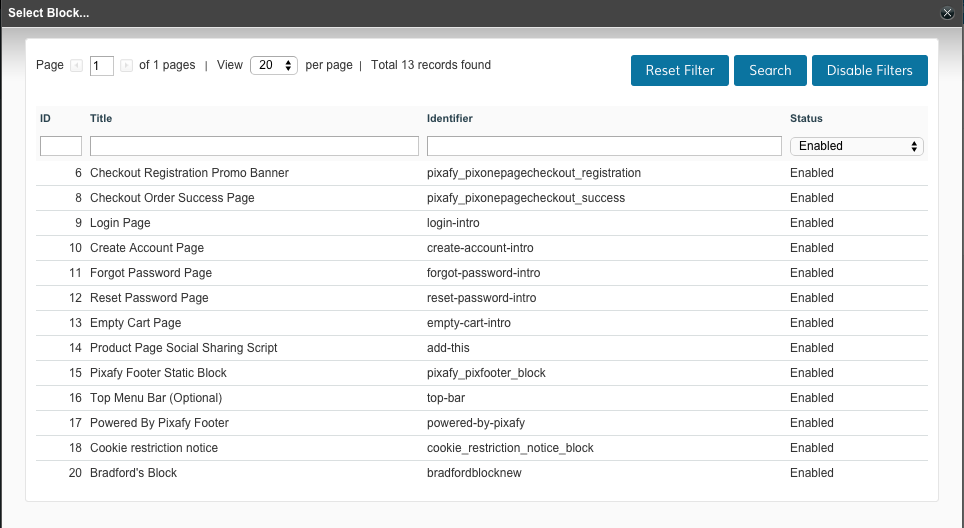
Click on the block you wish to assign to your widget to exit the list.
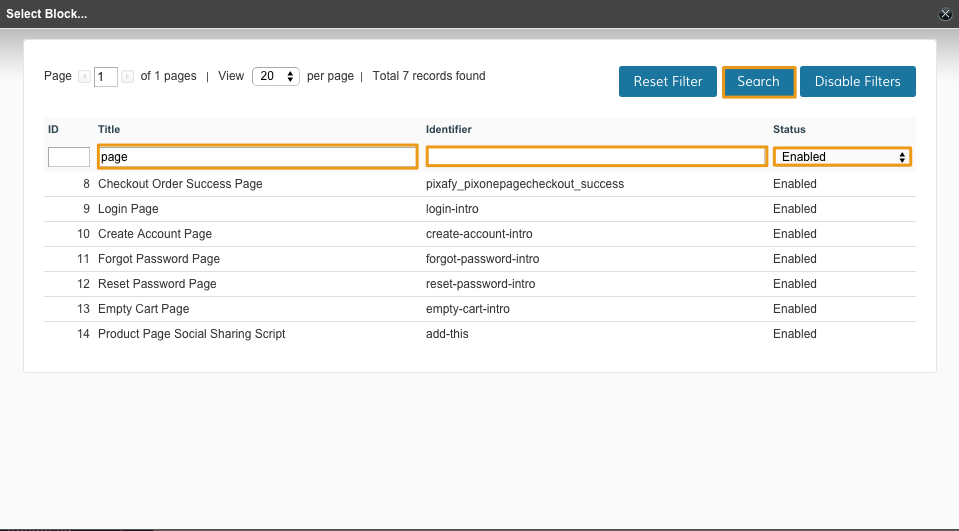
You can search for a specific block by using Title, Identifier or Status to filter through your block list. Click Save to apply the filter and Reset Filter to clear your search.
Step 7 - Save and Refresh
Click Save to apply your new widget.
From your Control Panel, hover your cursor over Advanced and select Refresh Your Store to apply the changes.
Comments
0 comments
Please sign in to leave a comment.