
Please note this tutorial is only for our older Classic design themes and tools. For information on our new themes and how to use the updated tools, please see: Starting with Design and Advanced Design Tools.
| 1 | Visit Store Header and Navigation settings |
| 2 | Visit Navigation settings |
| 3 | Add navigation link |
| 4 | Remove a Menu Link (Optional) |
| 5 | Save and Refresh |
Step 1 - Visit Store Header & Navigation settings
In your Control Panel, select Design.
Then, from the Edit your Store Header & Navigation subsection, click Manage.

Step 2 - Visit Navigation settings
On the Global Layouts page, scroll down to Navigation.
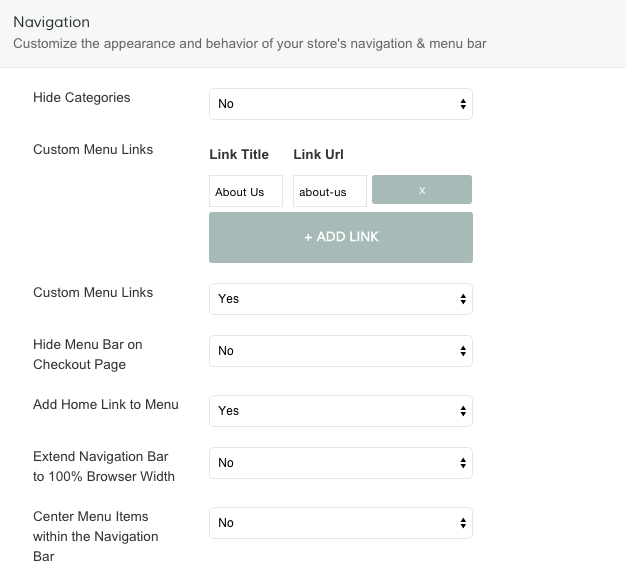
Step 3 - Add navigation link
Under Custom Menu Links, click Add Link.
Then, enter in the Link Title and Link URL.
- Link Title - Enter text that displays when customers view your link.
- Link URL - For internal pages, enter the URL Key of your page. This is the forward slash ("/") and following word or phrase. For example, An About For external pages, enter the full URL.
Step 4 - Remove a Menu Link (optional)
You can remove a menu link by clicking the x icon alongside the link you wish to delete.
Step 5 - Save and Refresh
When you've finished making your changes, click Save.

Then, in your Control Panel, hover over Advanced and select Refresh Your Store.
Note: You can add a dropdown with multiple menu navigation links. We explain how to do this here.
Comments
0 comments
Please sign in to leave a comment.