
Please note that this tutorial is for our older classic design tools.
Zoey allows you to create distinct pages that supplement your site with additional content about your store. Pages offer flexible layouts that can serve almost any purpose, such as describe the nature of your business, display media, or host important information about store policy. We explain how to build a new page here.
| 1 | Visit Design Settings |
| 2 | Visit Page Settings |
| 3 | Add Page Information |
| 4 | Add Content |
| 5 | Set Page Layout |
| 6 | Set Custom Design (Optional) |
| 7 | Add Meta Data (Optional) |
| 8 | Save and Refresh |
| 9 | Further Reading |
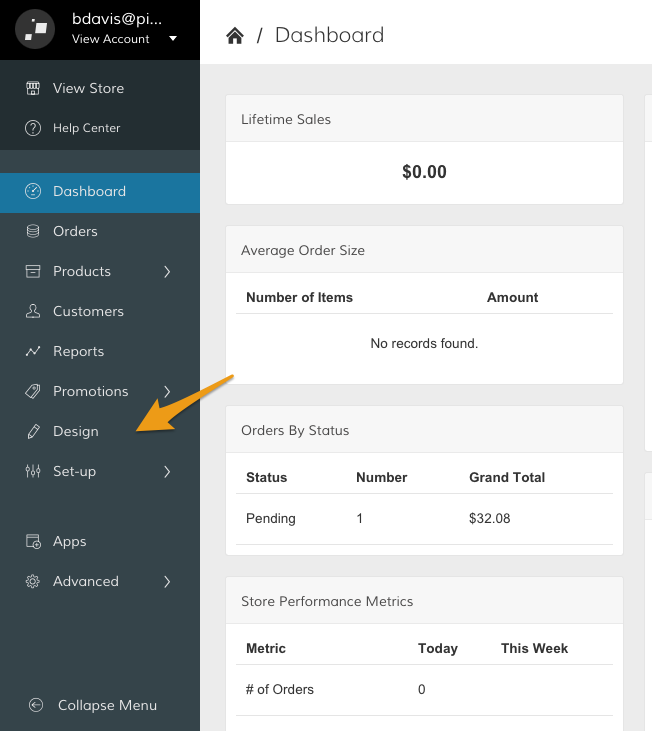
Step 1 - Visit Design Settings
In your Control Panel, click Design.
Step 2 - Visit Page Settings
Then, scroll to the Other Pages section. Within the Add a new Page subsection, click Manage.

Note: If you want to edit an existing page, click Manage within the Edit Page subsection.
Step 3 - Add Page Information
From the New Page settings, you can choose between four different sections of page settings in the Page Information toolbar.
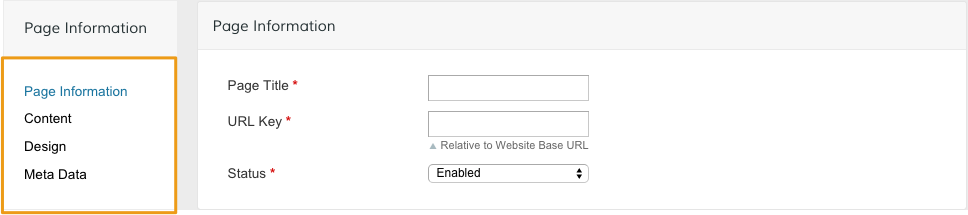
You can adjust key information about your page from here.
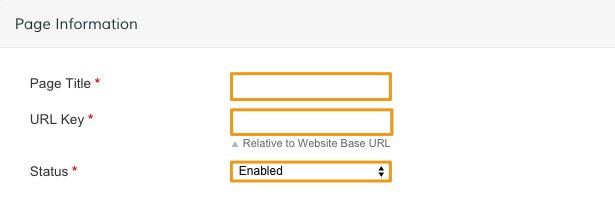
- Page Title - Name your page so you can quickly identify it within your Zoey settings.
- URL Key - This is the unique URL for your page.
- Status - Set to Enabled to allow your page to be accessed by customers.
Note: Fields marked with a red asterisk are required.
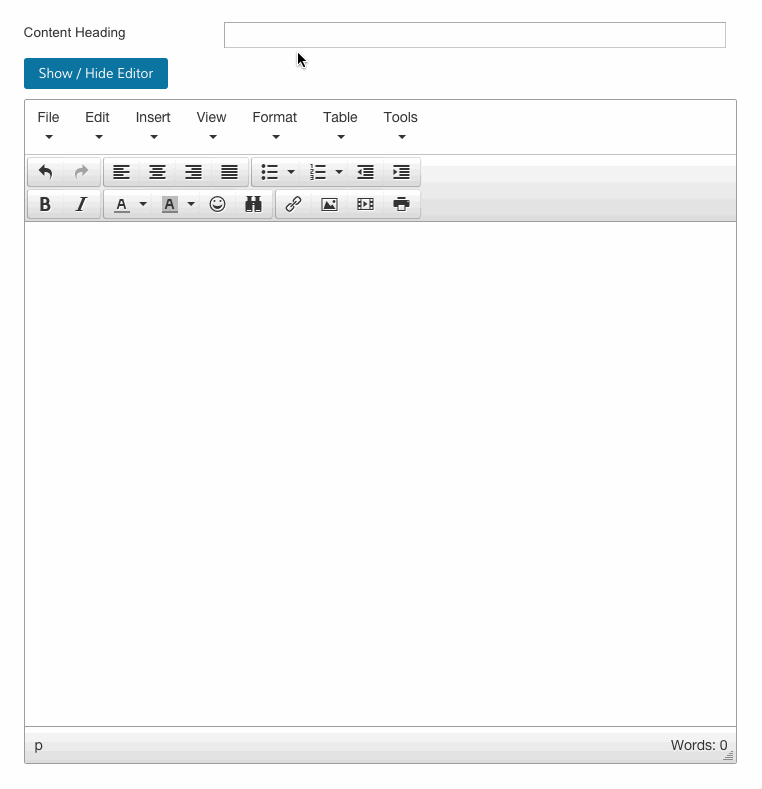
Step 4 - Add Content
From the Content settings, use the WYSIWYG editor to add and format text, images and videos.
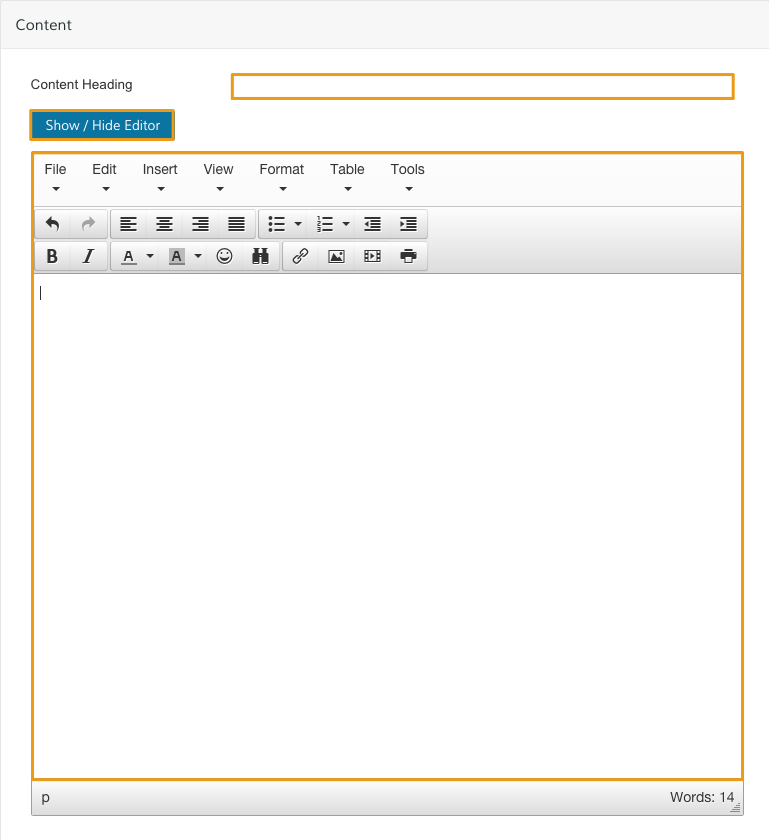
- Content Heading - Place a title for your content
- Show/Hide Editor - Toggle between the WYSIWYG and using HTML code to add and format your content.
Note: We explain how to use the WYSIWYG editor here.
Step 5 - Set Page Layout
From the Design section, scroll to Page Layout.
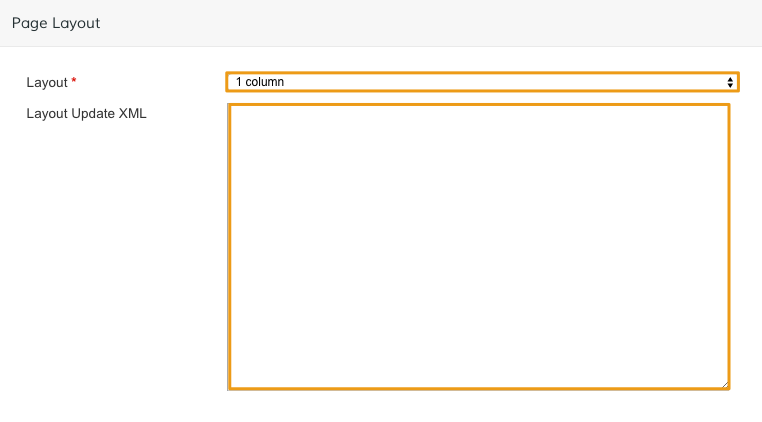
The Layout dropdown menu allows you to select the amount and position of columns on your page.
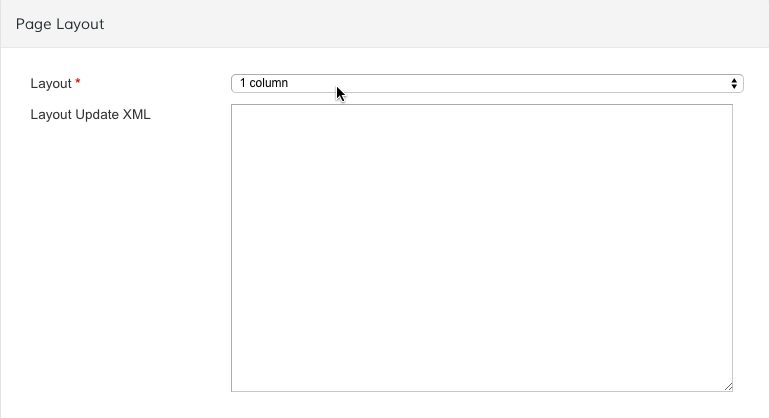
Use the Layout Update XML field to adjust your layout with XML code.
Note: Adding XML code is an advanced modification. Zoey customer support cannot troubleshoot or provide specific direction on custom XML.
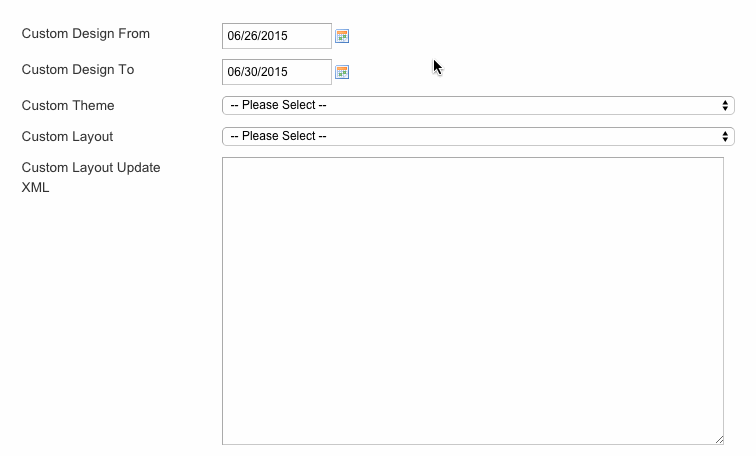
Step 6 - Set Custom Design (optional)
Use the Custom Design settings to set a custom design that applies specifically to your page.
Custom Design From/To
Use the Custom Design From and Custom Design To fields to set a timeframe for your custom design. Click the calendar icon to set your dates.
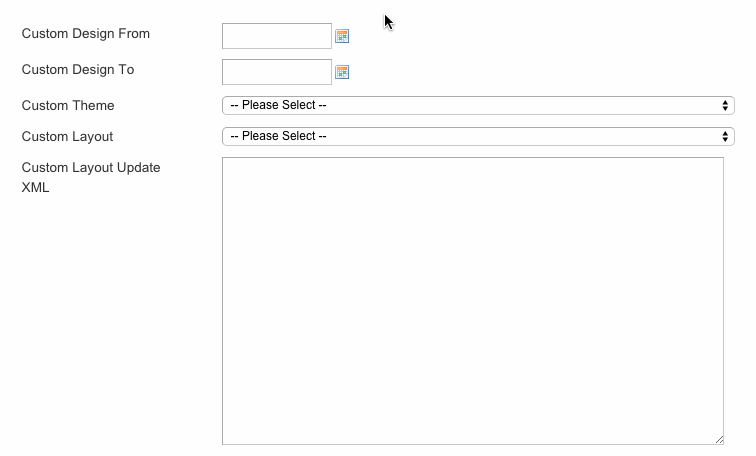
Custom Theme
Choose a preset theme for your page.
Note: You must have a custom theme created before selecting. Creating a custom layout is an advanced modification. Zoey customer support cannot troubleshoot or provide specific direction on creating custom layouts.
Custom Layout
Select a column layout for your page.

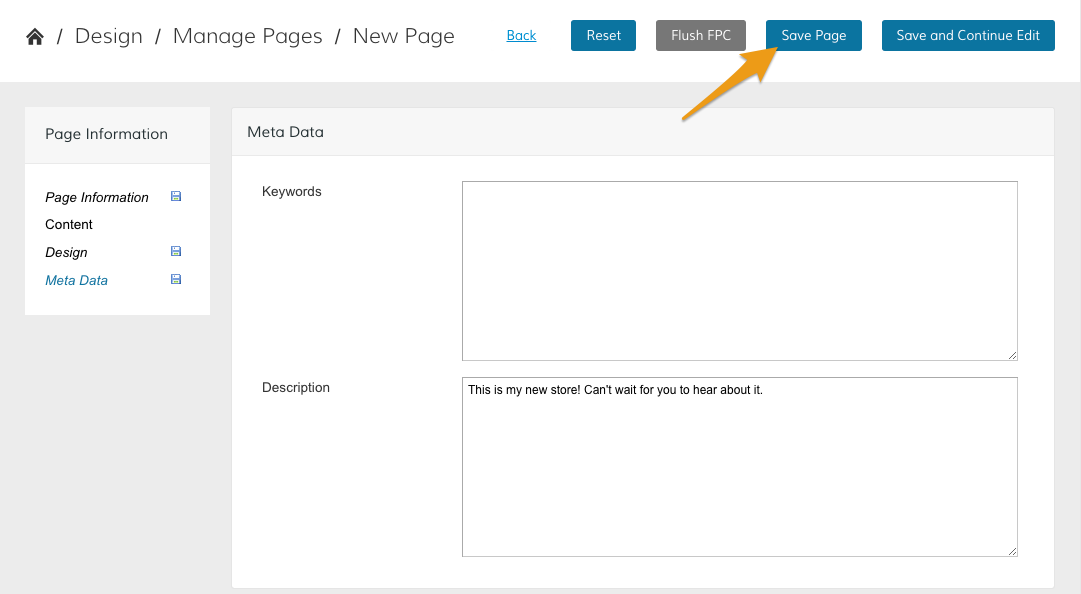
Step 7 - Add Meta Data (optional)
Meta Data is information search engines use to rank your page when indexing your site. Edit this area to optimize your page for the words and phrases you want.
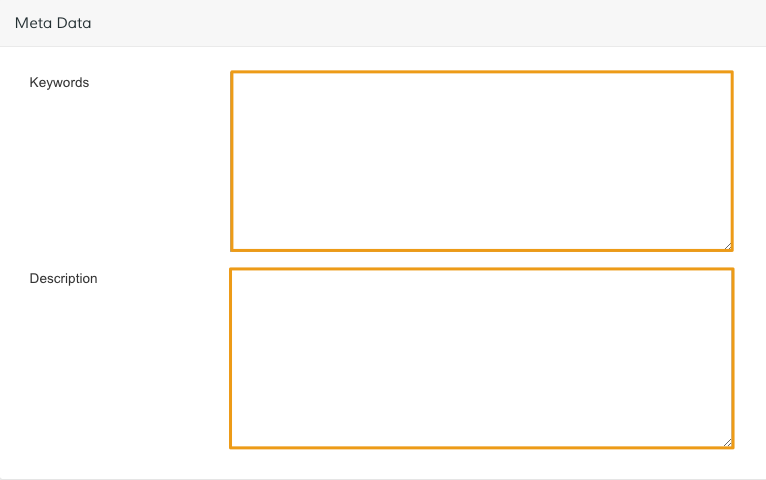
- Keywords - Add words relevant to the content in your page.
- Description - Write a brief description of the content on your page.
Note: We explain how to use Meta tags in further detail here.
Step 8 - Save and Refresh
When you complete your page settings, click Save.
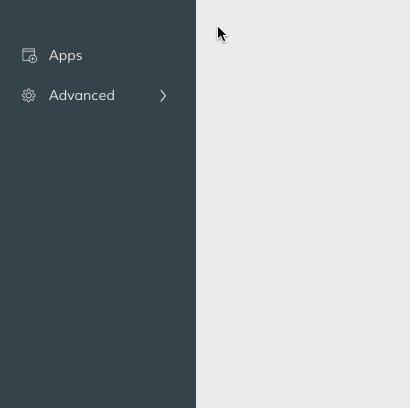
From your Control Panel, hover over Advanced and click Refresh.
Comments
0 comments
Please sign in to leave a comment.