
Configurable Products appear as single items from the customer's end, however, the options reference unique Simple products so you can manage your inventory.
For example, if you sell a hat that can be customized to be either blue or green, as well as small or large, then each combination (blue - small, blue - large, green - small, green - large) will have an associated Simple Product and its own SKU. This allows you to easily track inventory on any variation of the product your customer purchases.
Note: If you don't need to track the inventory for your product options, you can also use custom options with a Simple Product.
1 |
Visit Configurable Product page |
| 2 | Select an Attribute Set |
| 3 | Select Configurable Product attributes |
| 4 | Enter product information |
| 5 | Add associated products |
| 6 | Save and refresh |
Step 1 - Visit Configurable Product page
In your Control Panel, hover over Products, and select Products List.
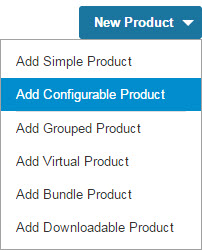
Then, click the arrow in the top right and select Add Configurable Product.
Step 2 - Select an Attribute Set
Under Create Product Settings, select an Attribute Set. Each attribute in your attribute set must have the following configurations:
- Scope must be set to Global
- Catalog Input Type must be Dropdown
- Unique Value must be No
- Use to Create Configurable Product must be Yes
If you don't have an Attribute Set ready for the configurable products you created, we recommend you create the set (and its respective attributes) from Products > Attributes.
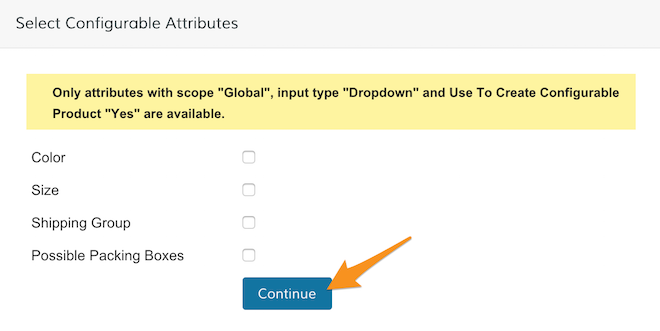
Step 3 - Select Configurable Product attributes
From Select Configurable Attributes, select the attributes in your set that you want to use with your configurable product. When you're ready, click Continue.
Step 4 - Enter product information
From here, enter your product information. You can enter your information similarly to a Simple Product, but we do recommend reviewing two settings:
- Price - The Price field (Navigation > General Information) is required, but it is only used as a default price. Each option can correspond to your associated product price, which can be adjusted as needed.
- Manage Stock - The Manage Stock setting (Navigation > Inventory) must be set to In Stock.
Step 5 - Add associated products
From Navigation > Associated Products, begin setting up your associated products. These will correspond with the configuration options available on the frontend. There are three ways to go about this:
Option 1 - Create simple associated product
Go through the normal process of creating a Simple Product with the option to copy information from the Configurable Product.
This is the most time intensive route, but if you want to display your products individually as well as in a configurable product, this may be the best.
Option 2 - Quick Simple Product creation
The fastest way to enter your products. You will be able to set the Simple Products' Name, SKU, Status, Visibility, Weight, Qty and Stock Availability with one click! This will also give you all the options for the Attributes you selected to use in this Configurable Product and warn you if you're trying to set up a duplicate.

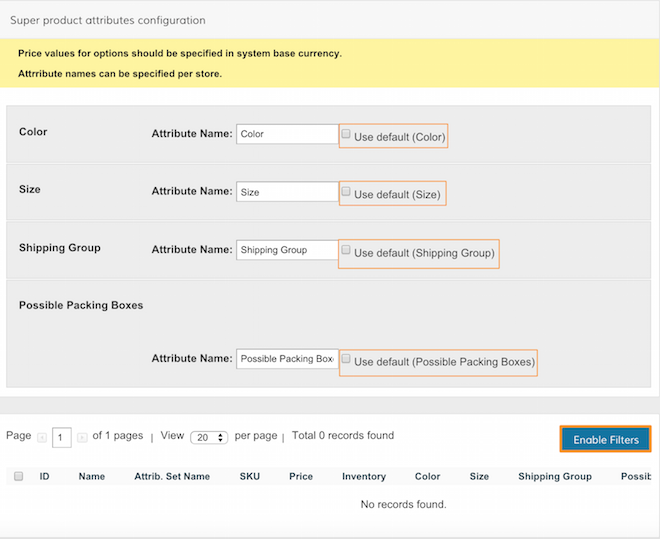
Option 3 - Product attributes configuration
If you already have the simple products created, you can use the checkboxes on the left to associate them to this product. Use the search filters to look for the the simple products and set up any price differences from your Configurable Product's price ($5 more for blue shirts or -10% for small shirts) here!
Note: Make sure that each Simple product associated with your Configurable product has a base image, as well as swatches enabled. When the customer selects the option in your Configurable, the product will update with the corresponding photo.
Step 6 - Save and refresh
When you finish making your product, click the Save icon, located in the top right. Then, in your Control Panel, hover your cursor over Advanced and click Refresh.
If you have any trouble with your Configurable Products, we recommend checking our troubleshooting guide.
Comments
0 comments
Please sign in to leave a comment.